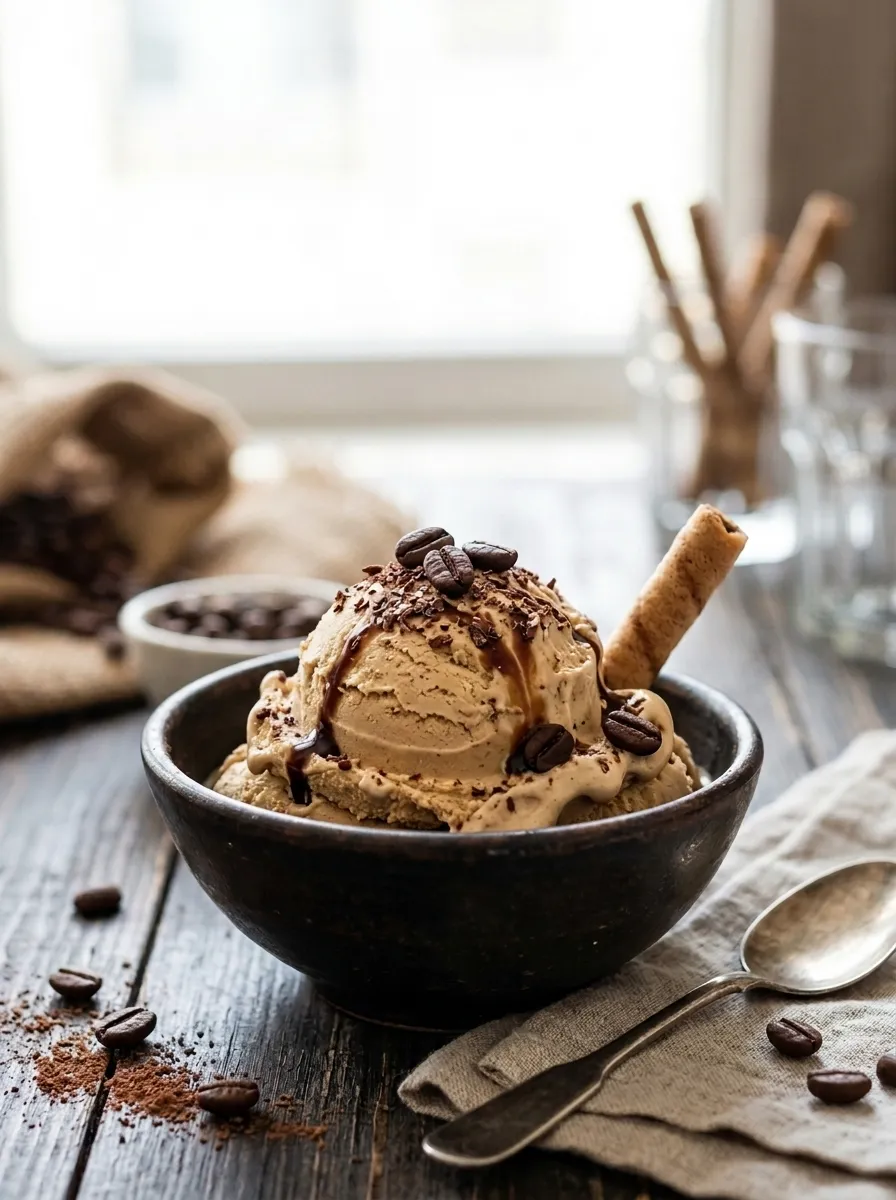
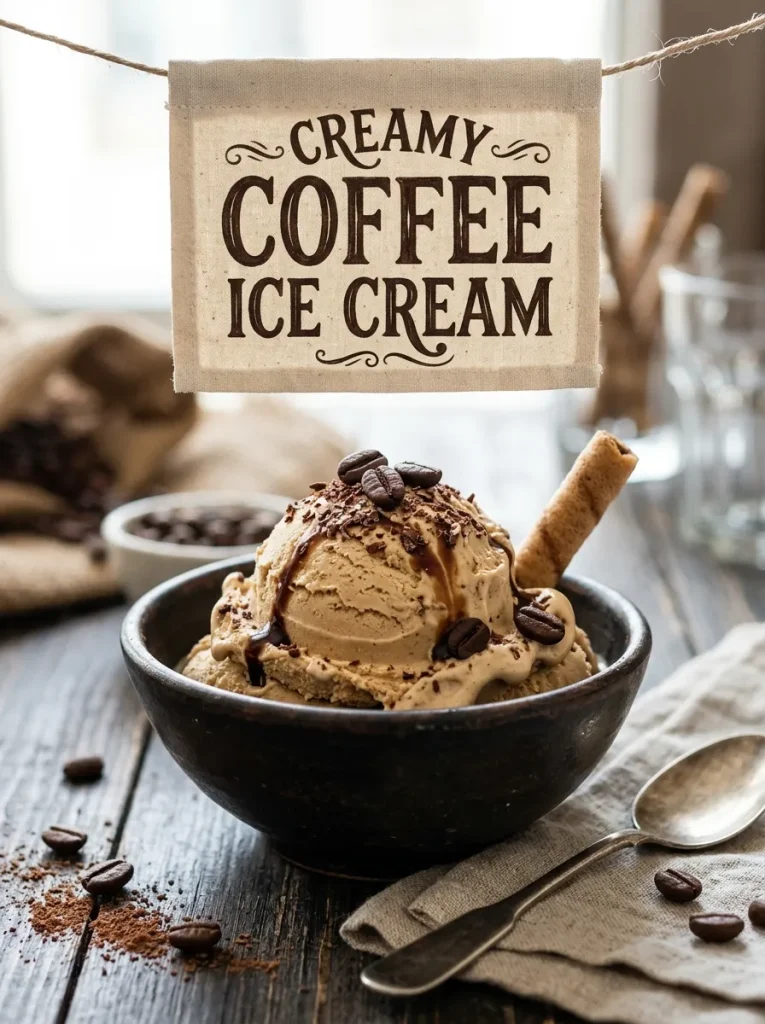
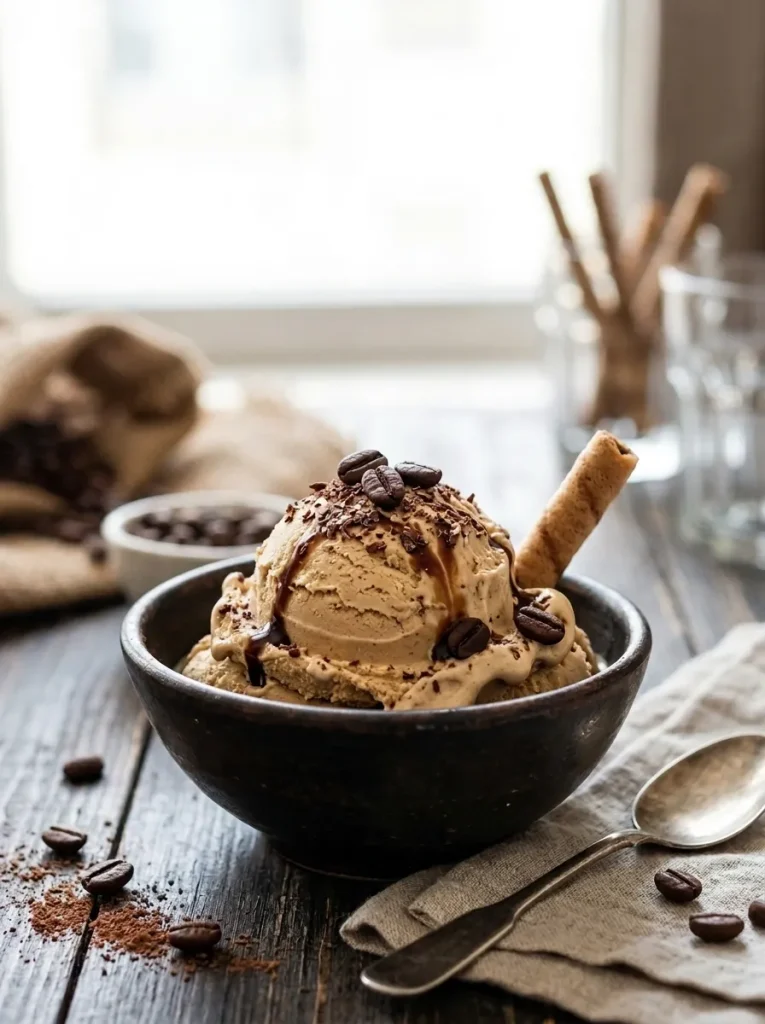
For true coffee lovers, an ordinary coffee-flavored dessert just doesn’t cut it. You want that bold, roasted espresso depth balanced by the velvety richness of sweet cream—a scoop that tastes like a luxury coffeehouse latte frozen to absolute perfection. This homemade coffee ice cream delivers an authentic, deep coffee flavor with a silky mouthfeel that puts store-bought tubs to shame.
The secret to achieving an intensely aromatic coffee ice cream without watering down the cream base comes down to using high-quality instant espresso powder or steep-infusing coarsely crushed whole coffee beans into warm milk. This infuses the dairy with rich roasted flavor compounds and essential coffee oils without introducing excess liquid, keeping the frozen cream base thick, smooth, and crystal-free.
Whether you’re ending a summer dinner party, building an Italian affogato, or treating yourself to a midnight scoop, this foolproof recipe will become an instant favorite in your freezer rotation.
Why You’ll Love This Recipe
- Authentic Roasted Coffee Flavor: Delivers a true, robust espresso taste without artificial flavorings or sickly-sweet syrups.
- Silky & Scoopable Texture: High-fat dairy and balanced sugar keep the ice cream velvety smooth and easy to scoop straight from the freezer.
- No Complex Custard Needed: Simple egg-free base options churn up quickly without the hassle of tempering egg yolks.
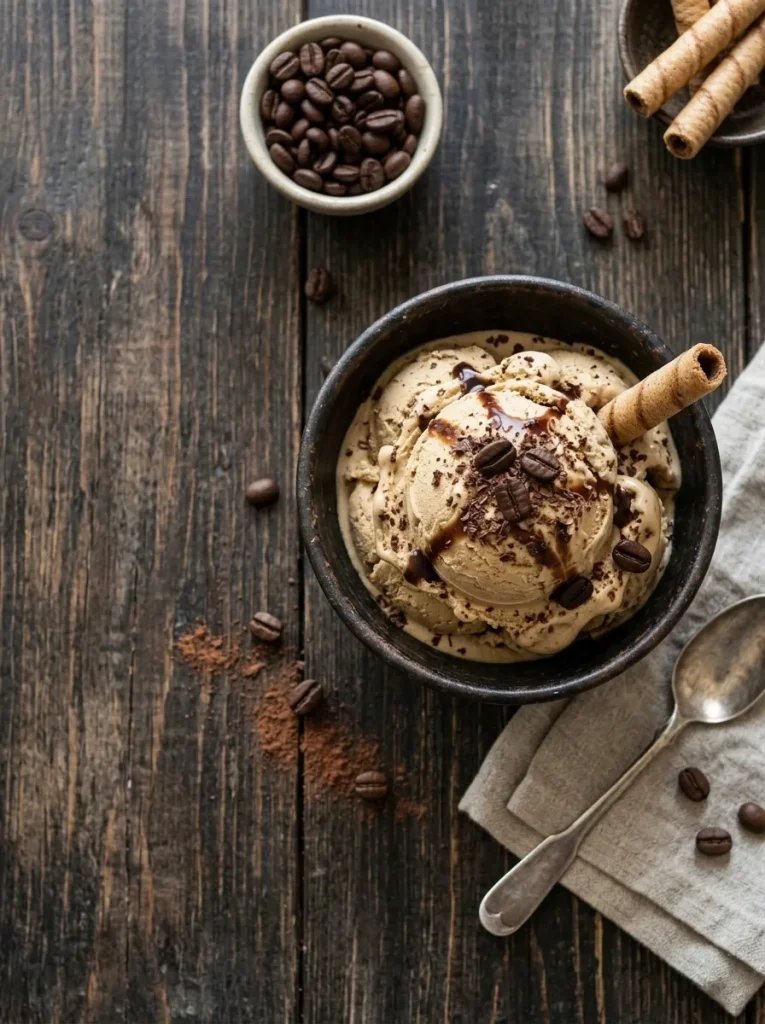
- Perfect Coffeehouse Canvas: Pairs effortlessly with hot fudge, dark chocolate shavings, caramel ribbons, or a shot of warm espresso.
Ingredient Notes
- Instant Espresso Powder or Dark Roast Coffee Beans: Instant espresso powder dissolves instantly into warm dairy, providing deep coffee color and punchy flavor. Alternatively, steep-infusing coarsely cracked whole dark roast beans gives a smooth, complex coffee note.
- Heavy Whipping Cream: Look for heavy whipping cream with at least 36% milk fat. High fat content creates the luxurious mouthfeel and prevents icy crystallization.
- Whole Milk: Whole milk balances the heavy cream so the ice cream coats your tongue without feeling greasy.
- Granulated Sugar: Dissolves completely into the warm milk mixture to lower the freezing point, ensuring every scoop stays soft.
- Pure Vanilla Extract: A small splash of vanilla extract rounds out the roasted bitterness of the coffee, bringing out a warm, caramel-like undertone.
Step-by-Step Instructions
1. Infuse the Warm Coffee Cream Base
In a medium saucepan, combine 1 cup of whole milk, 3/4 cup of granulated sugar, a pinch of fine sea salt, and 2 tablespoons of instant espresso powder (or 1/2 cup of coarsely cracked dark roast coffee beans). Heat over medium-low heat, stirring constantly, until the sugar and espresso powder fully dissolve and the mixture is steaming. If using whole coffee beans, remove from heat, cover, and steep for 30 minutes before straining out the beans.
2. Combine with Chilled Heavy Cream and Vanilla
Remove the saucepan from heat and stir in 2 cups of cold heavy whipping cream and 1 teaspoon of pure vanilla extract. The mixture will take on a gorgeous, rich shade of mocha brown and smell like fresh espresso.
3. Chill the Base Completely
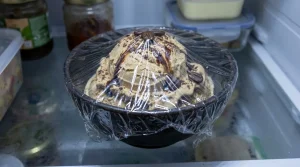
Transfer the coffee cream mixture to a bowl, cover tightly with plastic wrap, and refrigerate for at least 4 hours (or ideally overnight). Crucial step: Chilling the base to 40°F (4°C) or colder allows the fat molecules to solidify, ensuring the mixture churns faster and holds tiny air bubbles for a light, velvety creamery texture.
4. Churn to Soft-Serve Consistency
Pour the ice-cold coffee base into your ice cream maker and churn according to the manufacturer’s directions (usually 20 to 25 minutes). Watch for the cream to expand and thicken into a smooth, thick soft-serve consistency.
5. Freeze until Solid
Spoon the churned ice cream into a freezer-safe container or metal loaf pan, smooth the top with an offset spatula, cover tightly with plastic wrap and foil, and freeze for at least 4 hours until solid and scoopable.
Pro Tips for Best Results
Pro Tip: Use instant espresso powder rather than regular instant coffee granules! Espresso powder is made from dark-roasted beans and ground fine, delivering a richer, deeper coffee color and flavor without any sour bitterness.
- Don’t Skip Chilling the Base: Always churn an ice-cold base. Pouring warm or room-temperature liquid into an ice cream churner results in dense, icy ice cream.
- Fold in Chocolate Late: If adding chocolate chips or cocoa ribbons, add them during the final 2 minutes of churning so they distribute evenly without sinking.
- Freeze Your Storage Tub: Place your storage container in the freezer while the machine churns so the fresh ice cream doesn’t melt on contact when transferred.
Storage Instructions
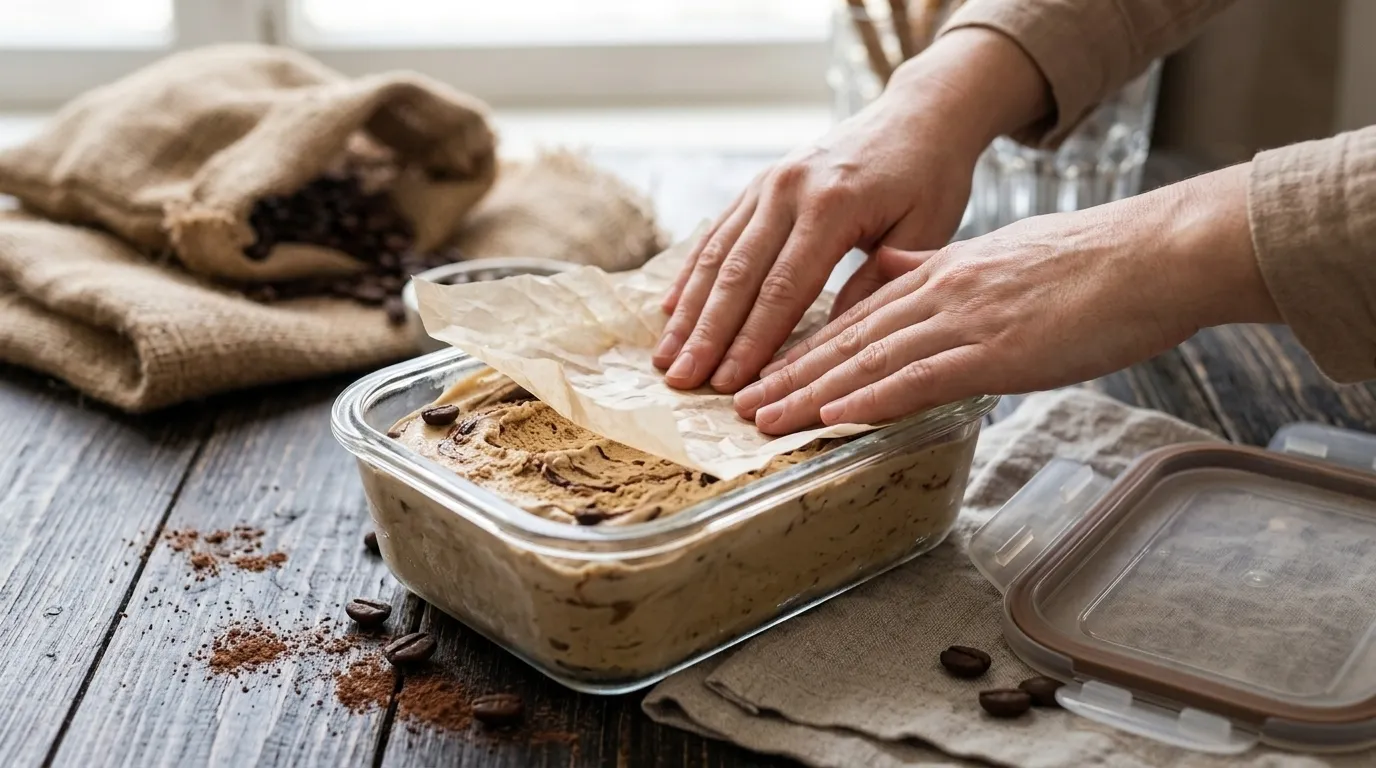
- Freezer Storage: Keep the ice cream stored in an airtight freezer tub or metal loaf pan pressed with wax paper directly onto the surface, then wrapped tightly in foil. Stores well for up to 3 weeks.
- Serving Prep: Homemade ice cream naturally sets firm. Let the container sit on the kitchen counter for 5 minutes before scooping for smooth, rounded scoops.
Variations & Substitutions
- Mocha Fudge Swirl: Drizzle 1/3 cup of warm dark chocolate fudge sauce into the container as you layer in the churned coffee ice cream.
- Coffee Toffee Crunch: Fold in 1/2 cup of crushed butter toffee pieces (or Heath bar chunks) during the last minute of churning.
- Decaf Coffee Ice Cream: Substitute instant decaf espresso powder for all the rich coffee flavor without the late-night caffeine rush.
Frequently Asked Questions
Can I use brewed liquid espresso instead of espresso powder?
Adding liquid espresso introduces extra water to the cream base, which can create ice crystals. If using liquid espresso, reduce the whole milk by an equal amount and use a strong double-shot.
Does this ice cream contain caffeine?
Yes! Ice cream made with real instant espresso powder contains caffeine (roughly 30–40mg per serving). Use decaf espresso powder if serving to kids or late at night.
Why is my coffee ice cream icy?
Icy ice cream usually results from using low-fat dairy or churning a base that wasn’t sufficiently chilled. Use heavy cream (36% fat) and whole milk, and chill the base overnight for best results.
Do I need egg yolks for this recipe?
No! This Philadelphia-style coffee base relies on high-fat cream and whole milk for a clean, bright coffee flavor that isn’t weighed down by heavy custard notes.
Serving Suggestions
Pair this rich coffee ice cream with your favorite treats:
- Classic Affogato: Place a scoop in a glass and drown it in a hot shot of fresh espresso or dark roast cold brew.
- Warm Desserts: Serve alongside warm fudgy brownies, chocolate lava cakes, or cinnamon pecan pie.
- Sundae Toppings: Top with fresh whipped cream, dark chocolate curls, toasted hazelnuts, or warm salted caramel sauce.
Creamy Coffee Ice Cream
Ingredients
Equipment
Method
- Place the coffee beans in a zip-top bag and lightly crush them with a rolling pin or the bottom of a pan, just until cracked into coarse pieces. Do not grind them into powder.

- In a medium heavy-bottomed saucepan, combine 1 cup (240 ml) of the heavy cream, the milk, and the sugar. Heat over medium heat, stirring occasionally, until steaming and the sugar has dissolved, about 5 minutes. Do not let it boil.
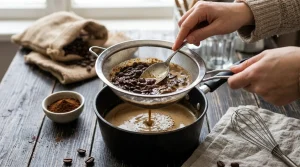
- Remove from the heat and stir in the crushed coffee beans. Cover and steep for 30 minutes. Taste after 30 minutes and steep a few more minutes for a stronger flavor.
- Pour the remaining 1 cup (240 ml) cold cream into a large bowl and set a fine-mesh strainer over it. Set the bowl in an ice bath (a larger bowl filled with ice and water).
- Strain the steeped mixture through a fine-mesh strainer into a clean saucepan, pressing on the beans to extract the liquid. Discard the beans. Whisk in the espresso powder until dissolved, then reheat over medium heat until steaming.
- In a medium bowl, whisk the egg yolks and salt until smooth. Slowly pour about 1 cup of the hot coffee mixture into the yolks, whisking constantly, to temper them. Pour the tempered yolks back into the saucepan while whisking.
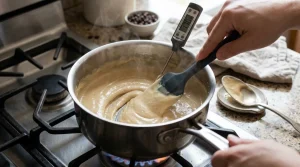
- Cook over medium-low heat, stirring constantly with a spatula and scraping the bottom, for 5 to 7 minutes, until the custard coats the back of a spoon and reaches 170°F (77°C). Do not let it boil or the eggs will scramble.
- Immediately pour the custard through the strainer into the cold cream. Stir in the vanilla and stir over the ice bath for a few minutes to cool it down.
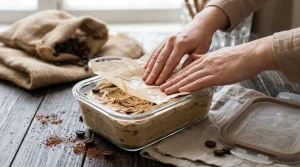
- Cover with plastic wrap pressed directly onto the surface and refrigerate for at least 4 hours, or overnight, until completely cold.
- Churn the chilled custard in an ice cream maker according to the manufacturer’s instructions, about 20 to 25 minutes, until thick like soft-serve.
- Transfer the ice cream to a freezer-safe container, press parchment paper onto the surface, and cover with a lid. Freeze for at least 3 hours, until firm and scoopable. Let it sit at room temperature for 5 minutes before serving.
Notes
Espresso powder: It adds depth and a strong coffee aroma. If you do not have it, use 2 tablespoons of instant coffee granules dissolved in 1 tablespoon of hot water.
Flavor strength: For a bolder coffee flavor, steep the beans for 45 minutes or use 3 tablespoons of espresso powder.
Tempering the yolks: Add the hot mixture slowly while whisking to avoid scrambling the eggs. The strainer will catch any small lumps.
Chill completely: A fully cold base churns faster and gives a creamier, less icy texture. Overnight chilling is best.
No ice cream maker: Pour the chilled base into a shallow container and freeze, whisking vigorously every 45 minutes for about 3 hours. The texture will be slightly less smooth.
Mix-in ideas: Fold in 1/2 cup (85 g) of chopped dark chocolate, toffee bits, or a fudge swirl in the last minute of churning.
Serving idea: Scoop into a glass and pour a shot of hot espresso over the top for a quick affogato.
Caffeine: This ice cream contains caffeine, so keep that in mind when serving it to children or late in the evening.
Storage: Store in an airtight container with parchment pressed onto the surface for up to 2 weeks Nutrition (per serving) Calories 340 kcal Carbohydrates 26 g Protein 5 g Fat 25 g Saturated fat 15 g Cholesterol 210 mg Sodium 60 mg Potassium 170 mg Fiber 0 g Sugar 25 g