
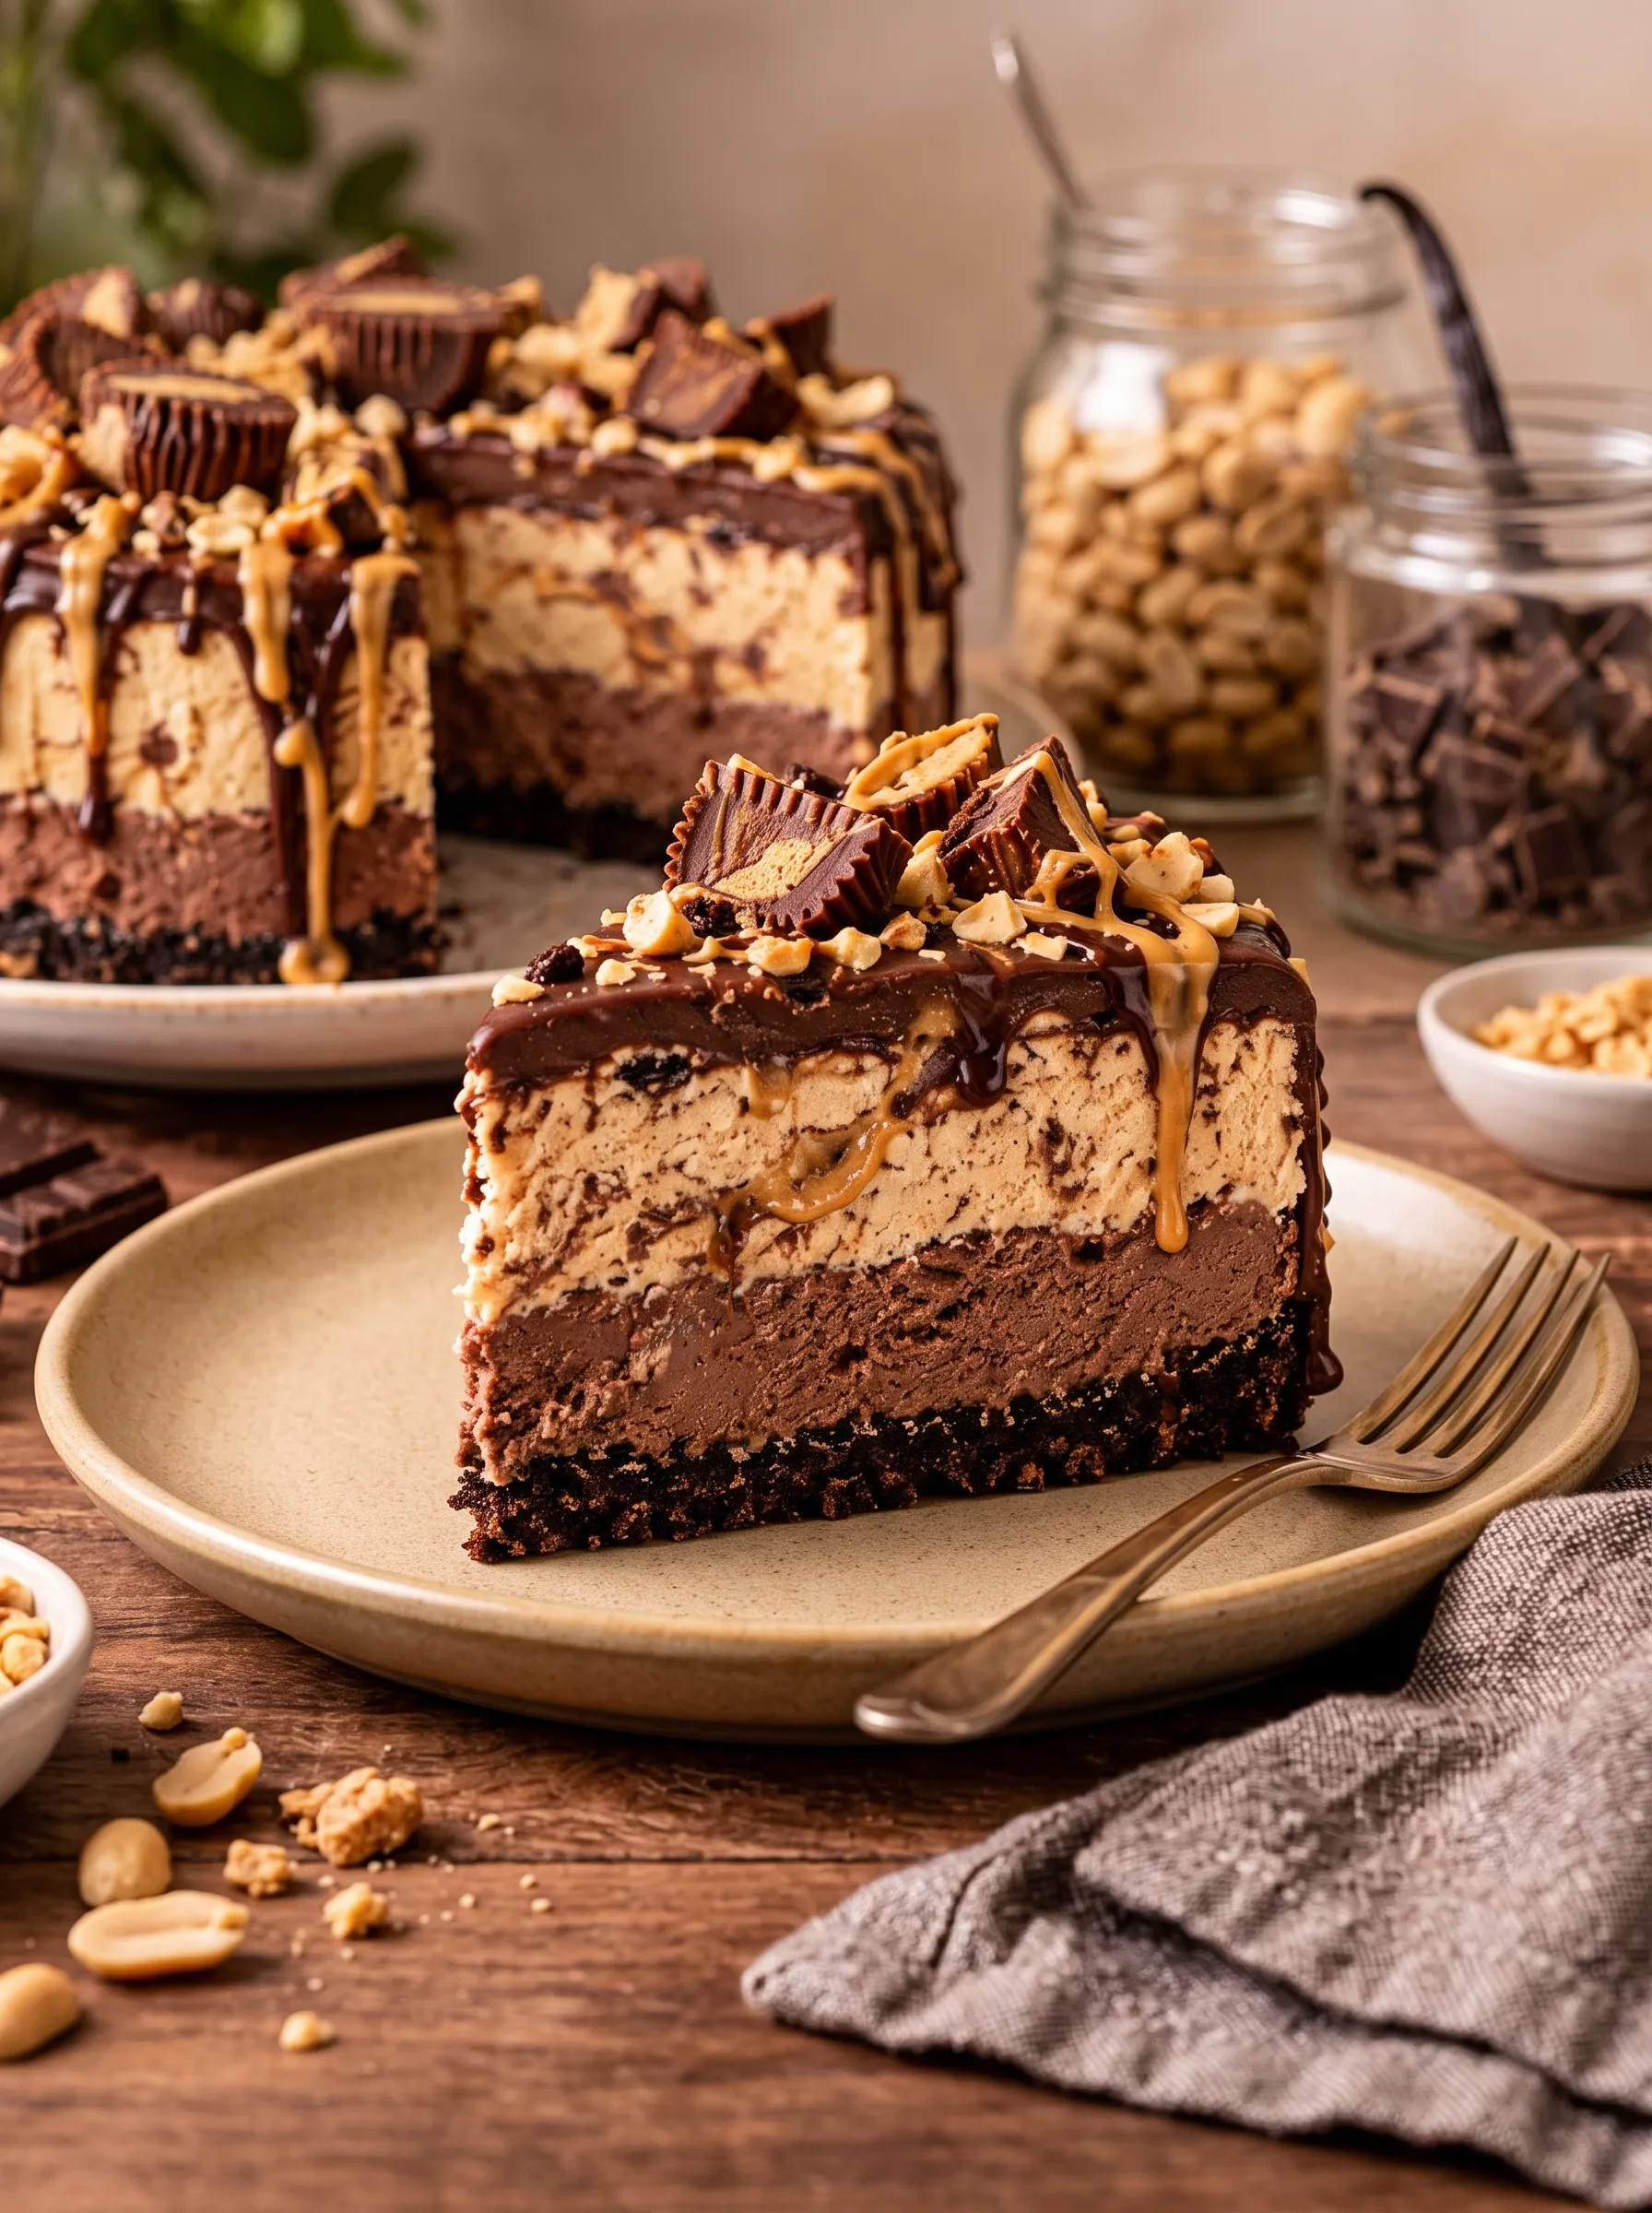
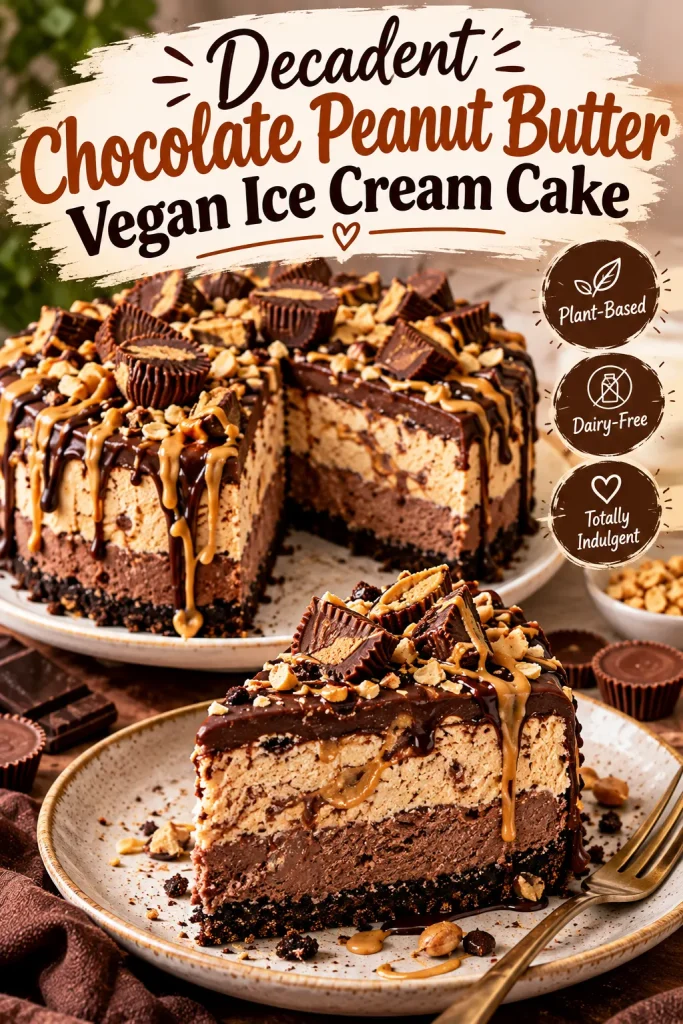
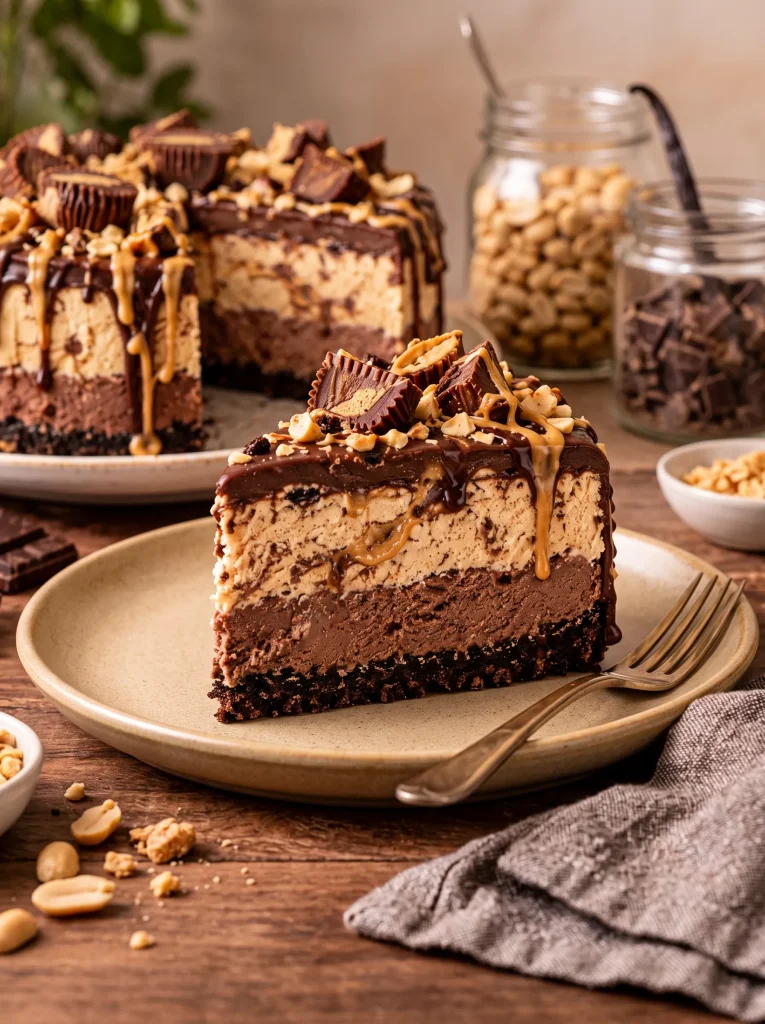
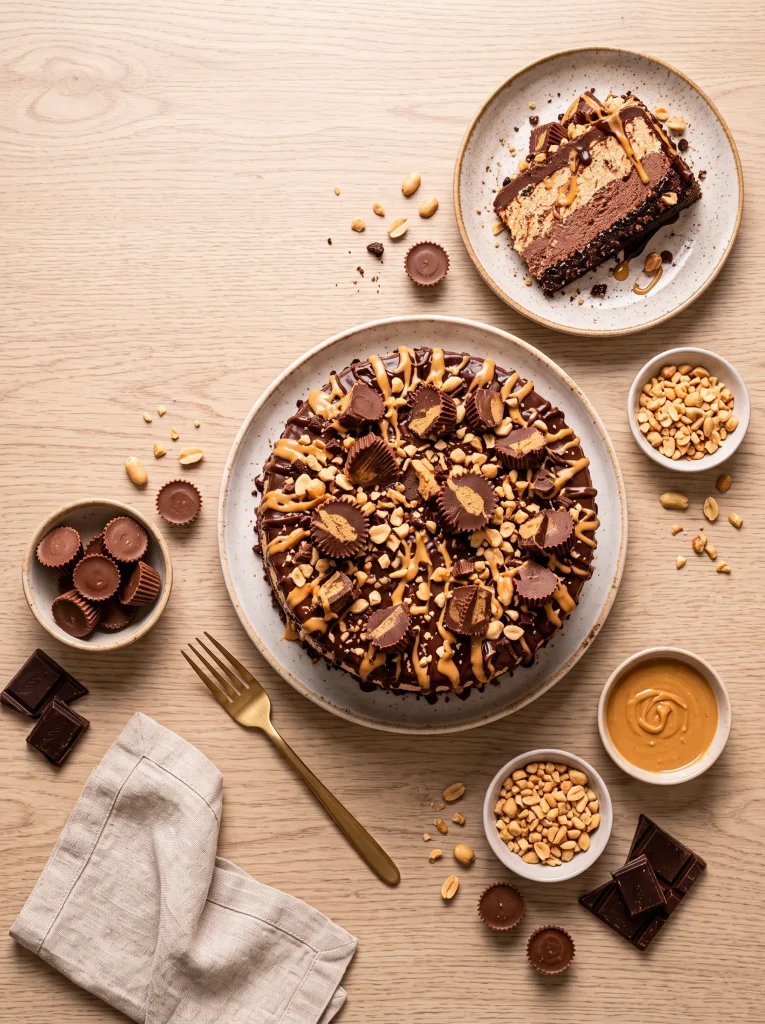
Chocolate and peanut butter are one of those pairings that never gets old, and this cake puts them in every layer. There’s a crisp chocolate cookie crust, a thick fudge layer, a creamy peanut butter filling, and a glossy ganache with crunchy peanuts on top. It slices like a proper ice cream cake, with no ice cream machine and no oven.
I make this for birthdays, holiday tables, and any gathering where I want a showstopper that doesn’t need last-minute work. The freezer does most of it, so you can finish the cake days ahead and serve it straight from the pan.
The secret is a base of soaked cashews and chilled coconut cream. Blended together, they freeze into a texture that’s rich and scoopable, not icy or greasy. Nobody at the table will guess it’s vegan.
Why You’ll Love This Recipe
- No oven, no ice cream maker. A blender, a springform pan, and a freezer are all you need.
- Two flavors in one blend. You make one filling, then turn half of it into a fudge layer, so there’s no second recipe to juggle.
- Make-ahead friendly. It keeps in the freezer for up to 2 weeks, so party day is just slicing.
- Creamy, never icy. Cashews and coconut cream give a smooth, sliceable texture.
- Fully vegan. It’s dairy-free and egg-free, using pantry staples plus vegan butter and dairy-free dark chocolate.
Ingredient Notes
Chocolate sandwich cookies. You need 24, filling included, for the crust. Oreos work well, and standard ones contain no animal ingredients, though formulations vary by country, so check your label. Use gluten-free sandwich cookies if you need a gluten-free cake.
Natural peanut butter. Choose a runny, natural peanut butter made from just peanuts and salt. Thick, sweetened brands can make the filling stiff and overly sweet. Stir the jar well first, since the oil separates.
Raw cashews. These make the filling silky. Soak them in hot water for 30 minutes, then drain well. Skipping the soak leaves a grainy filling.
Full-fat canned coconut milk. You need two cans, chilled at least 12 hours. Don’t shake them. The thick cream rises and solidifies, and that’s what you scoop off. Avoid “light” coconut milk, and if you can, pick a brand without guar gum, since it separates more cleanly.
Vegan butter. It binds the crust. Use a stick-style or block vegan butter rather than a soft tub spread, which can be too wet.
Dark chocolate. Check that it’s dairy-free. A bar around 60 to 70 percent cocoa gives a fudge layer and ganache that are bittersweet enough to balance the sweet peanut butter.
Unsweetened cocoa powder. Sift it before blending, or tiny lumps can survive the blender.
Nut-free? Replace the cashews with an extra 1/2 cup (120 ml) of solid coconut cream and 1/2 cup (120 g) of nut-free vegan cream cheese. Use sunflower seed butter in place of peanut butter, and toasted sunflower seeds in place of the chopped peanuts.
Step-by-Step Instructions
Start with the crust, and chill it
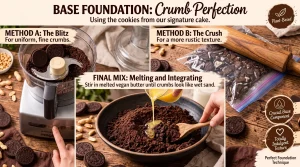
Line the bottom of a 9-inch (23 cm) springform pan with parchment and lightly grease the sides. Crush the 24 cookies into fine crumbs in a food processor, or seal them in a zip-top bag and use a rolling pin. Fine crumbs matter, because chunks make a crust that crumbles when you slice. Stir in the 4 tablespoons of melted vegan butter until the mixture looks like wet sand and holds together when pinched.
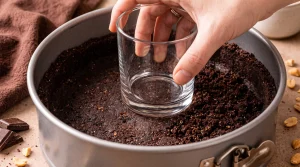
Press the crumbs firmly into the base and about 1 inch (2.5 cm) up the sides, packing them tight with the flat bottom of a glass. Tight packing is what stops the crust from falling apart when you cut. Freeze it for 15 minutes while you make the filling. A cold crust also stops the filling from sinking into it.
Blend the peanut butter filling until it’s silky
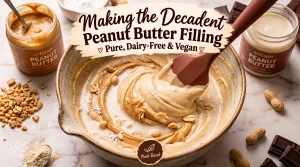
Open your chilled cans and scoop off only the thick, solid cream. Keep the thin liquid underneath, since you’ll need it for the ganache and possibly the fudge layer. Add the cream to a high-speed blender with the drained cashews, peanut butter, 1/2 cup maple syrup, powdered sugar, vanilla, and salt.
Blend on high for 1 to 2 minutes, scraping down the sides. You’re done when it looks like thick, glossy whipped cream, and you can’t feel any grit when you rub a bit between your fingers. If you see tiny flecks, keep blending. Grit now means a grainy cake later.
Split the filling to make the chocolate layer
Scoop half of the filling, about 3 cups, into a bowl and set it aside. This is your peanut butter layer. Leave the rest in the blender.
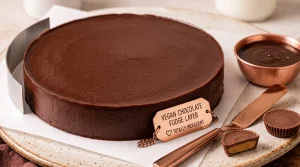
To the filling still in the blender, add the sifted cocoa powder, 1/3 cup maple syrup, and the melted dark chocolate. Let the chocolate cool slightly first, because piping-hot chocolate can loosen the coconut cream. Blend for 30 to 45 seconds until the mixture is thick, glossy, and evenly dark. If it seems stiff, add a splash of the reserved coconut liquid.
Layer the cake in two freezes
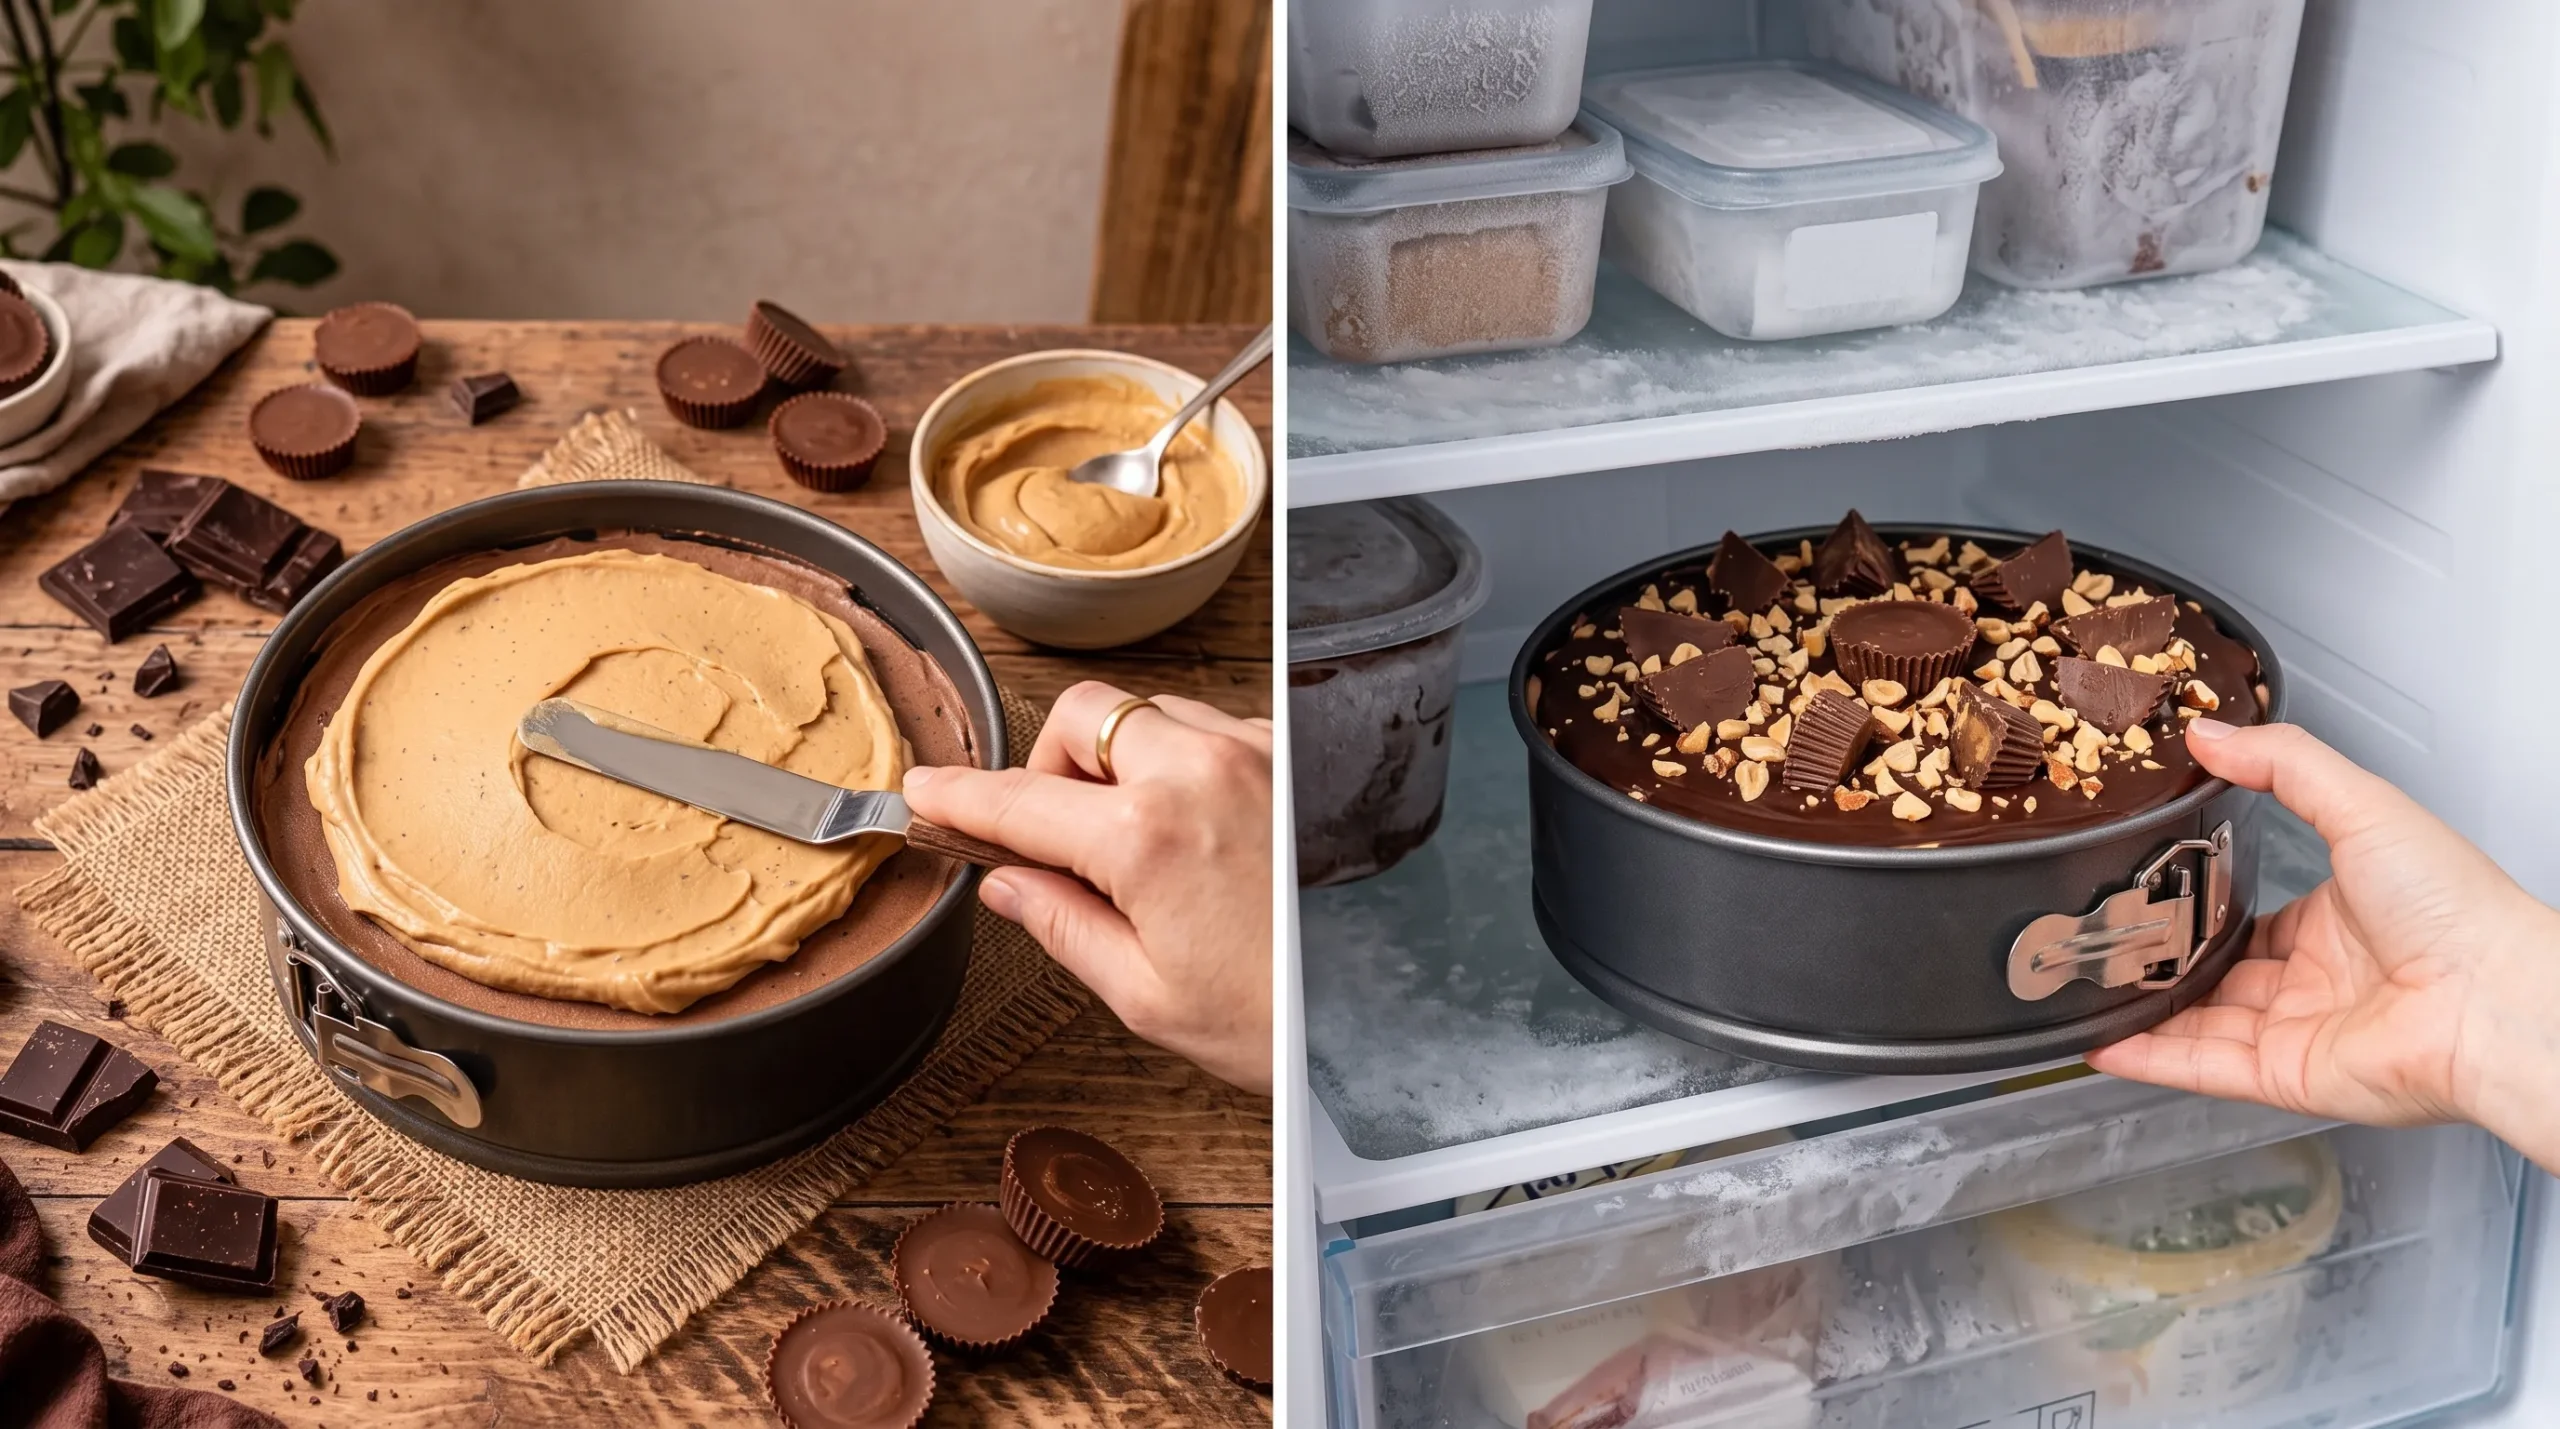
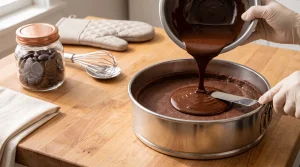
Pour the chocolate layer over the chilled crust and smooth the top. Freeze for 45 minutes, until the surface is firm to the touch. This step keeps the layers separate and gives you a clean line when you slice.
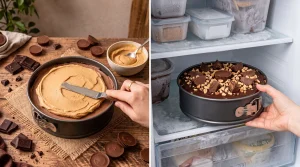
Gently pour the reserved peanut butter filling over the firm chocolate layer and smooth the top. Tap the pan on the counter to release air bubbles. Cover loosely with foil or plastic wrap and freeze for at least 4 hours. The cake is ready when it feels firm all the way to the center, not just on the surface.
Make the ganache and let it cool
Put 6 ounces of finely chopped dark chocolate in a heatproof bowl. Warm 1/2 cup of the coconut milk (stir it first, since it will have separated) until steaming but not boiling, then pour it over the chocolate. Wait 2 minutes so the heat can melt the chocolate evenly, then stir until glossy and smooth.
Let the ganache sit 10 to 15 minutes until slightly thickened but still pourable. If you pour it hot, it melts the frozen surface and slides off in thin, streaky ribbons.
Top it and freeze again
Pour the ganache over the frozen cake and spread it to the edges. Work fast and sprinkle on the chopped peanuts right away, then drizzle with the slightly warmed peanut butter. The ganache firms up quickly on the cold surface, and toppings only stick while it’s still soft. Freeze another 2 hours, until the ganache is set.
Slice it cleanly
Let the cake sit at room temperature for 10 to 15 minutes before serving. Run a warm knife around the edge, then release the springform. For neat slices, dip a sharp knife in hot water, wipe it dry, and cut, repeating between every slice.
Pro Tips
- Chill the cans for a full 12 hours. A short chill leaves soft, watery cream, and the filling won’t set firmly.
- Let the chocolate cool before blending it in. Melted chocolate that’s still hot can thin the filling and make the fudge layer soft.
- Freeze the chocolate layer until firm before adding the peanut butter layer. Pouring onto a soft surface muddies the layers.
- Warm your knife, don’t just wet it. Hot water and a dry blade give clean, bakery-style slices instead of cracked chocolate.
Best tip: Let the ganache cool until it just starts to thicken before pouring. Poured hot, it melts the frozen surface and slides right off.
Storage & Reheating
Freeze the cake tightly covered, either in the pan or wrapped after slicing, for up to 2 weeks. For grab-and-go treats, freeze individual slices on a tray until solid, then wrap each one and stack them in a container.
There’s no reheating. This cake is served cold. Let the whole cake or a slice sit at room temperature for 10 to 15 minutes before serving so the filling softens to a creamy, scoopable texture. Don’t refreeze a cake that has fully thawed, because it turns icy.
Variations & Substitutions
- Salted caramel drizzle: Warm 1/4 cup of vegan caramel sauce and drizzle it over the ganache along with the peanut butter.
- Banana layer: Press thin banana slices onto the chocolate layer before adding the peanut butter filling.
- Crunchy version: Fold 1/2 cup of chopped peanut butter cups or chocolate chips into the peanut butter layer.
- Almond butter swap: Replace the peanut butter with almond butter for a milder flavor.
- Gluten-free: Use gluten-free chocolate sandwich cookies for the crust.
- Nut-free: See the ingredient notes for the coconut cream, cream cheese, and sunflower seed butter swap.
Frequently Asked Questions
Do I really need to soak the cashews?
Yes. Soaking softens them so they blend smoothly. Skip it and the filling will be grainy, even in a strong blender.
Can I make this without a high-speed blender?
You can, but soak the cashews for a couple of hours instead of 30 minutes and blend longer, scraping often. A standard blender will usually leave a bit more texture.
Why is my filling icy or crumbly instead of creamy?
Most often the coconut cans weren’t chilled long enough, or “light” coconut milk was used. Full-fat milk chilled at least 12 hours gives the richest, smoothest result.
Why did my layers blend together?
The chocolate layer wasn’t firm enough before the peanut butter layer went on. Freeze it until the surface is firm to the touch.
Can I make this ahead for a party?
Yes, that’s what it’s built for. Make it up to 2 weeks ahead and keep it well covered in the freezer.
Serving Suggestions
Serve slices with fresh raspberries or strawberries, since the tartness cuts through the richness. A dollop of coconut whipped cream or a drizzle of extra warm ganache on the side also works well. For a dessert spread, pair it with hot coffee, espresso, or a cold glass of oat or almond milk.
Recipe Here
Decadent Chocolate Peanut Butter Vegan Ice Cream Cake
Ingredients
Equipment
Method
- Make the Crust
- Line the bottom of a 9-inch (23 cm) springform pan with parchment paper. Lightly grease the sides.

- Blitz the cookies in a food processor into fine crumbs. Or seal them in a zip-top bag and crush them with a rolling pin. Stir in the melted vegan butter until the crumbs look like wet sand.
- Press the crumbs firmly into the bottom of the pan and about 1 inch (2.5 cm) up the sides, using the bottom of a glass to pack them tightly. Freeze for 15 minutes while you make the filling.
- Make the Peanut Butter Filling
- Add the drained cashews, the solid coconut cream from both cans, peanut butter, 1/2 cup maple syrup, powdered sugar, vanilla, and salt to a high-speed blender. Reserve the thin coconut liquid for the ganache and fudge layer. Blend on high for 1 to 2 minutes, scraping down the sides, until completely smooth and silky with no grit.
- Transfer half of the filling (about 3 cups) to a bowl and set it aside. Leave the rest in the blender.
- Make the Chocolate Fudge Layer
- To the filling still in the blender, add the sifted cocoa powder, 1/3 cup maple syrup, and the melted dark chocolate. Blend for 30 to 45 seconds until glossy, thick, and evenly chocolate-colored. If it seems stiff, add a splash of the reserved coconut liquid.
- Assemble & Freeze
- Pour the chocolate layer over the chilled crust and smooth the top. Freeze for 45 minutes, until the surface is firm to the touch.
- Pour the reserved peanut butter filling over the chocolate layer and smooth the top. Tap the pan gently on the counter to release air bubbles. Cover loosely with foil or plastic wrap and freeze for at least 4 hours, until the cake is firm all the way through.
- Ganache & Finish
- Place the chopped dark chocolate in a heatproof bowl. Warm the 1/2 cup coconut milk in a small saucepan or the microwave until steaming but not boiling, then pour it over the chocolate. Let it sit for 2 minutes, then stir until glossy and smooth. Cool for 10 to 15 minutes until slightly thickened but still pourable.
- Pour the ganache over the frozen cake and spread it to the edges. Immediately sprinkle with the chopped peanuts, then drizzle with the warmed peanut butter.
- Freeze for 2 more hours, or until the ganache is set. Before serving, let the cake sit at room temperature for 10 to 15 minutes. Run a warm knife around the edge, release the springform, and slice with a knife dipped in hot water and wiped dry between cuts.

Video
Notes
Peanut butter: Use a natural, runny peanut butter that contains only peanuts and salt. Thick, sweetened brands can make the filling stiff and overly sweet.
Nut-free option: Replace the cashews with an additional 1/2 cup (120 ml) of solid coconut cream and 1/2 cup (120 g) of a nut-free vegan cream cheese. Use sunflower seed butter instead of peanut butter, and skip the chopped peanuts for toasted sunflower seeds.
Coconut cream tips: Use full-fat canned coconut milk without guar gum if possible, as it separates cleanly. Chill the cans for at least 12 hours.
Gluten-free: Use gluten-free chocolate sandwich cookies in place of regular ones. Nutrition (per slice) Calories 520 kcalCarbohydrates 44 g Protein 9 g Fat 37 g Saturated fat 19 g Cholesterol 0 mg Sodium 240 mg Potassium 380 mg Fiber 5 g Sugar 28 g Calcium 55 mg Iron 4 mg









2 Comments
It’s Excellent..
Thank youu..