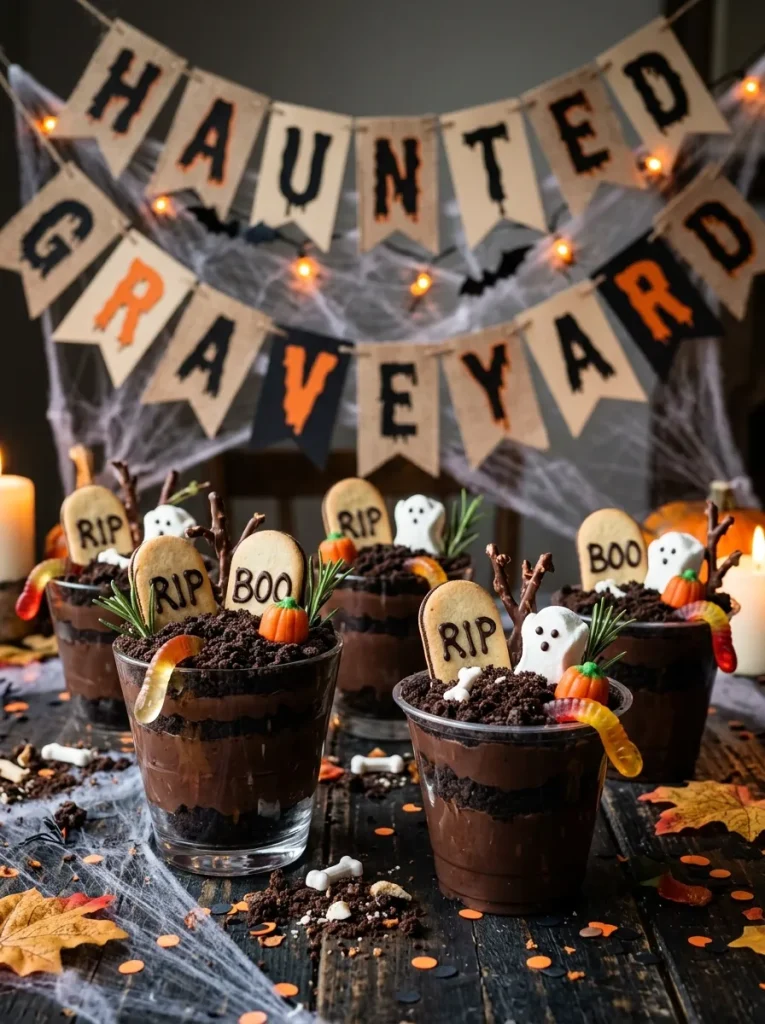
When October arrives and spooky party planning is in full swing, nothing nostalgic hits the spot quite like classic dirt pudding. These haunted graveyard dirt pudding cups take that beloved childhood favorite and transform it into a eerie, party-ready Halloween treat. Layered with rich chocolate pudding, fluffy whipped cream, fine Oreo cookie “dirt,” and topped with Milano cookie tombstones and gummy worms, they are as fun to make as they are to eat.
What makes this recipe a true staple for Halloween celebrations is its effortless no-bake simplicity. Instead of spending hours standing over a hot stove or decorating complex sugar cookies, you can whip up a batch of these individual dessert cups in just 20 minutes. They are perfect for getting kids involved in the kitchen, giving everyone their own tombstone to decorate with piping chocolate.
Whether you are hosting a neighborhood trick-or-treat gathering, throwing a cozy spooky movie night, or preparing classroom treats, these individual graveyard cups deliver the ultimate combination of creamy chocolate fudge and crunchy cookie crunch.
Why You’ll Love This Recipe
- No-Bake & Fast: Assembles in under 20 minutes with basic kitchen staples and zero oven time.
- Fun & Interactive: Perfect for kids and guests to customize their own cookie tombstones and gummy decorations.
- Individually Portioned: Served in clear plastic cups for mess-free party serving and easy cleanup.
- Make-Ahead Friendly: Can be layered in advance and kept chilled in the fridge until party time.
Ingredient Notes
- Instant Chocolate Pudding Mix: Use instant chocolate fudge or dark chocolate pudding for the richest color and deepest flavor. Ensure you select instant pudding rather than cook-and-serve.
- Cold Whole Milk: Whole milk sets the instant pudding firmly and creates a thick, velvety base.
- Chocolate Sandwich Cookies (Oreos): Crushed in a food processor until finely ground to resemble dark, rich graveyard soil.
- Whipped Topping (Cool Whip): Folded into the chocolate pudding to create a light, mousse-like texture that holds its structure.
- Milano Cookies: Oval-shaped chocolate-filled cookies make the ultimate, realistic graveyard tombstones when piped with melted chocolate “RIP” lettering.
- Gummy Worms & Candy Bones: Slithery gummy candy poking out of the cookie dirt adds instant spooky charm.
Step-by-Step Instructions
1. Prepare the Velvet Chocolate Mousse Base
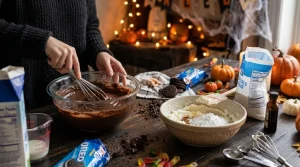
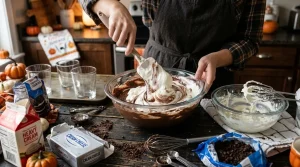
In a large mixing bowl, whisk instant chocolate pudding mix with cold whole milk for 2 minutes until smooth and starting to thicken. Let it sit for 5 minutes to set. Gently fold in thawed whipped topping with a rubber spatula until fully incorporated into a light, fluffy chocolate mousse.
2. Grind the Cookie Dirt
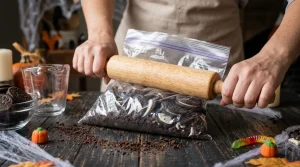
Place whole chocolate sandwich cookies (filling included) into a food processor and pulse until finely ground into dark, crumbly “dirt.” If you don’t have a food processor, place the cookies in a heavy zip-top bag and crush them thoroughly using a rolling pin.
3. Layer the Graveyard Cups
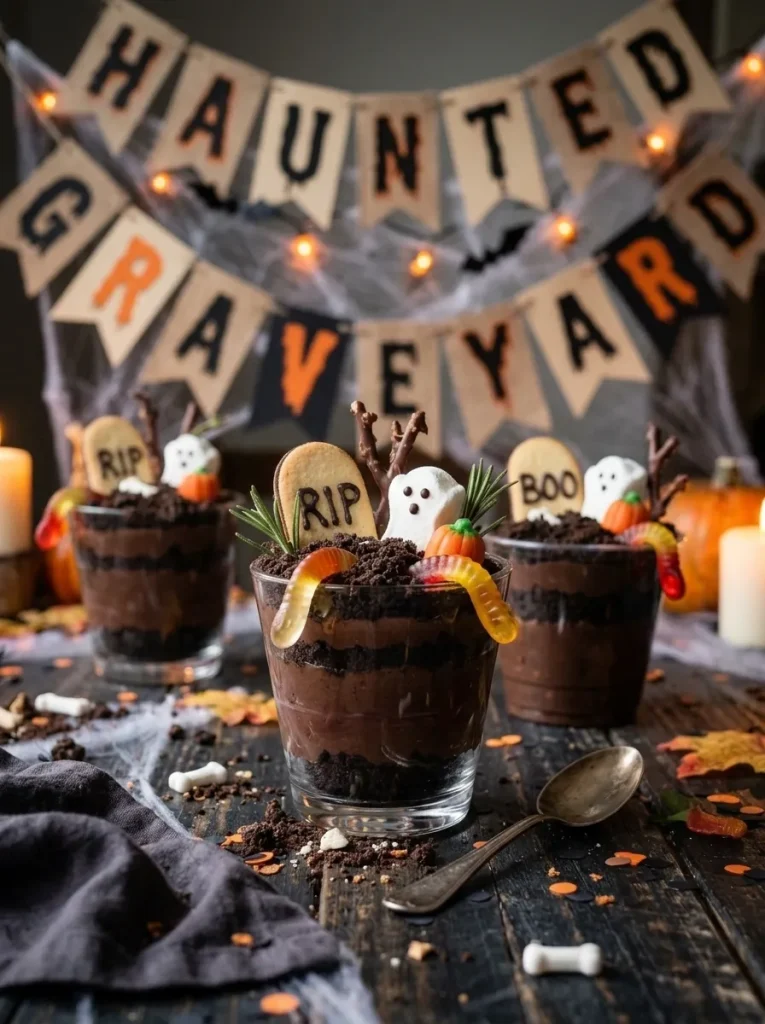
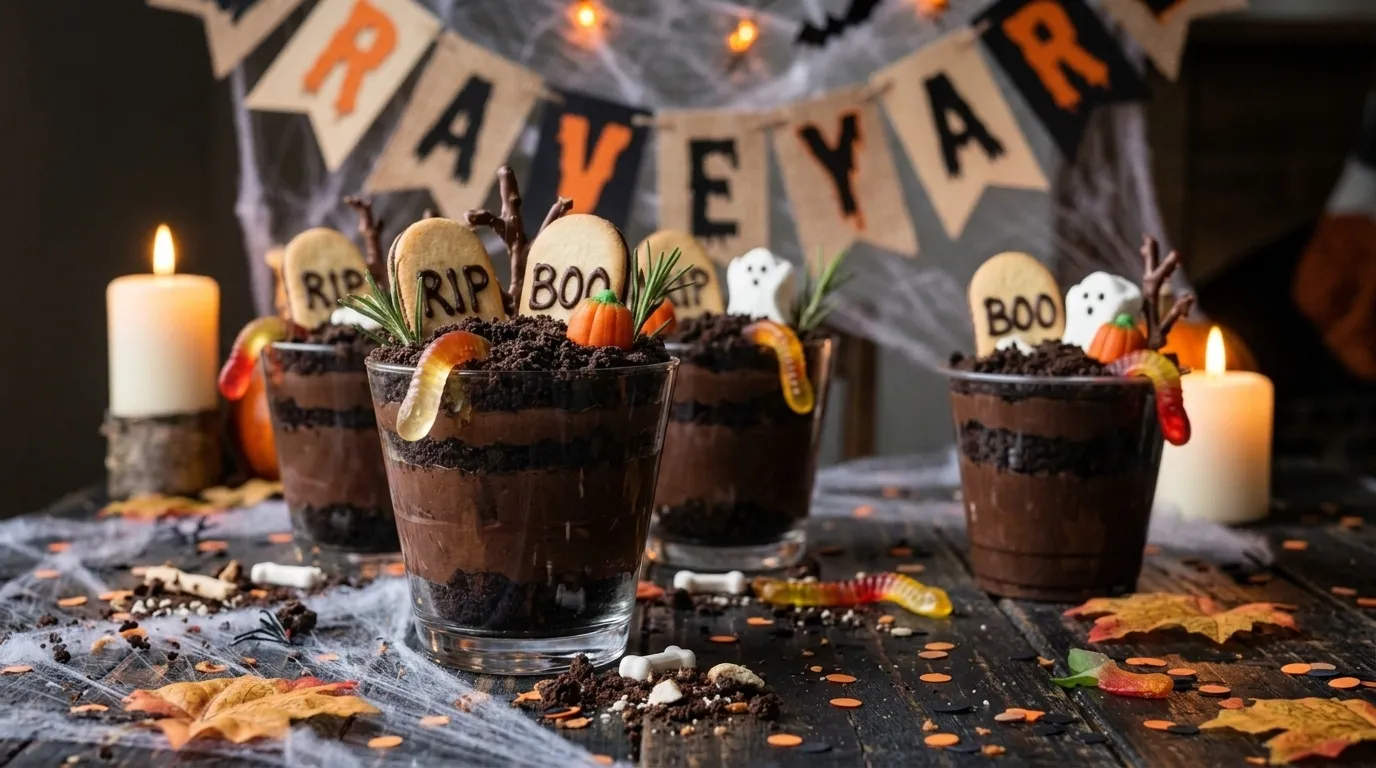
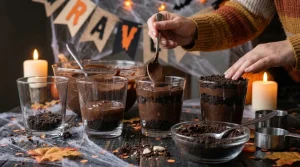
Line up 8 to 10 clear plastic 9-ounce cups. Spoon a layer of crushed Oreo dirt into the bottom of each cup. Pipe or spoon a layer of chocolate mousse over the dirt. Repeat the layers once more, finishing with a thick layer of Oreo dirt on top to cover the pudding completely.
4. Pipe the Cookie Tombstones
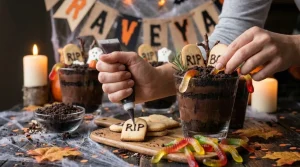
Melt dark chocolate chips in a small microwave-safe bowl in 15-second intervals until smooth. Spoon the melted chocolate into a small ziplock bag and snip off a tiny tip. Pipe “RIP” or spooky skeleton motifs onto the top half of each Milano cookie. Let the chocolate set for 5 minutes to harden.
5. Assemble the Haunted Scene
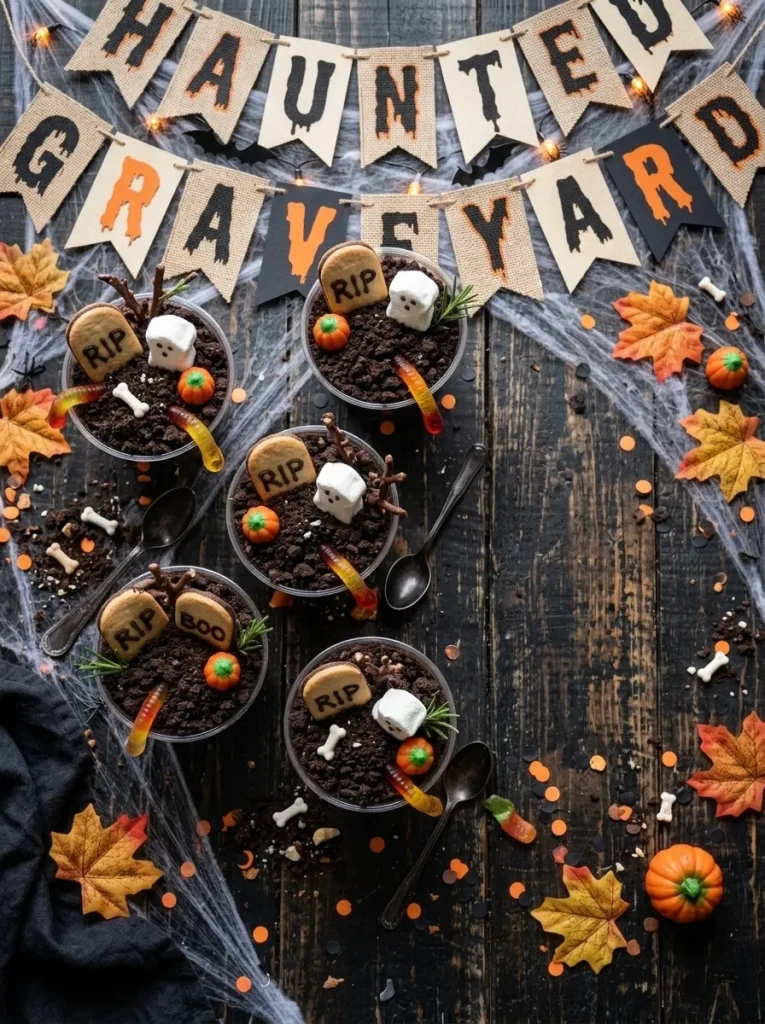
Press one decorated Milano tombstone deep into the top layer of Oreo dirt in each cup so it stands upright. Tuck gummy worms into the dirt so they appear to be slithering out of the grave, and add candy bones or pumpkin sprinkles around the tombstone base. Chill in the refrigerator until ready to serve.
Pro Tips for Best Results
Pro Tip: Keep the cookie fillings in! Pulsing whole Oreos with their cream centers creates a dark, moist, clump-free dirt texture that looks just like real garden soil.
- Chill Before Decorating: Chill the layered pudding cups for at least 1 hour before inserting the Milano tombstones so the thick pudding supports the weight of the cookies without tilting.
- Use Clear Cups: Serve in clear plastic 8-ounce or 9-ounce cups so the distinct layers of cookie dirt and dark chocolate cream are fully visible.
- Write Tombstone Letters First: Pipe your chocolate “RIP” lettering onto the Milano cookies while they lie flat on a parchment sheet before inserting them into the cups.
Storage Instructions
- Refrigerator Storage: Store assembled cups covered loosely with plastic wrap in the refrigerator for up to 3 days.
- Keep Tombstones Crisp: If making more than a day in advance, insert the Milano cookie tombstones just before serving so they stay crisp and don’t soften from the moisture in the pudding.
Variations & Substitutions
- Vanilla Ghost Dirt Cups: Swap chocolate pudding for vanilla or banana pudding and use crushed Golden Oreos for a “sandy” desert graveyard topped with marshmallow ghosts.
- Gummy Skull Graveyard: Add gummy skulls, green monster sour tape, or candy eyeballs for extra creepy texture.
- Dairy-Free Dirt Cups: Use plant-based instant pudding prepared with almond or oat milk (use slightly less milk to ensure a firm set) and dairy-free whipped topping paired with gluten-free chocolate sandwich cookies.
Frequently Asked Questions
Why is my instant pudding runny?
Instant pudding requires cold dairy milk to set firmly. Plant-based milks require 25% less liquid to set, and low-fat milks can produce a softer set than whole milk.
Can I use homemade cooked chocolate pudding instead?
Yes! Ensure your cooked chocolate pudding is cooled completely to room temperature before folding in the whipped topping and layering with cookie dirt.
How far in advance can I make these graveyard cups?
You can layer the pudding and Oreo dirt in the cups up to 2 days in advance. Add the Milano cookie tombstones and gummy worms right before serving so the cookies remain crisp.
Do I need a food processor to crush the Oreos?
No! Simply seal the cookies inside a heavy gallon freezer bag and crush them with a rolling pin or meat mallet until finely ground.
Serving Suggestions
Pair these spooky haunted graveyard dirt pudding cups with festive Halloween favorites:
- Party Spooky Snacks: Serve alongside ghostly meringue kiss cookies, witch-finger pretzels, and candy corn pop mix.
- Festive Beverages: Pair with dark cherry punch, hot spiced apple cider, or a smoky Halloween mocktail.
Haunted Graveyard Dirt Pudding Cups
Ingredients
Equipment
Method
- Make the Pudding

- In a large bowl, whisk the pudding mix and cold milk together for 2 minutes, until thick and smooth. Let it stand for 5 minutes to set fully. In a separate bowl, beat the cream cheese, powdered sugar, and vanilla until smooth and fluffy.
- Whip the cold heavy cream in another bowl until stiff peaks form. Fold the cream cheese mixture into the whipped cream until combined, then fold this into the pudding until smooth and fluffy.
- Make the Dirt
- Place the sandwich cookies, filling and all, in a zip-top bag and crush with a rolling pin into fine crumbs that look like soil. Set aside about 1/2 cup (50 g) for the top of the cups.
- Assemble and Decorate
- Spoon about 2 tablespoons of cookie crumbs into the bottom of each cup. Add about 1/3 cup (80 ml) pudding, another layer of crumbs, then more pudding, filling each cup to 1/2 inch (12 mm) below the rim. Top each with the reserved crumbs, pressing lightly to cover the pudding.
- Refrigerate the cups for at least 1 hour, until the pudding is firm and chilled.
- Just before serving, pipe "RIP" on each rectangular cookie with decorating icing and let it set for a few minutes. Press a tombstone into the center of each cup, then tuck 3 gummy worms into the dirt so they crawl out. Serve cold.
Notes
Cream cheese: Make sure that it is fully softened to avoid lumps. If the filling is lumpy, beat the cream cheese with 1/4 cup of the pudding first and then fold it in.
Layers: Spoon or pipe the pudding in so the clear cups show the layers. Wipe the glass with a paper towel for neat layers.
Tombstones: Add the tombstones and gummy worms just before serving so the cookies stay crisp. Pressing them in too early makes them soggy.
Make ahead: Assemble the cups without the toppings up to 1 day ahead and keep them covered in the refrigerator. Add the toppings before serving.
Spooky ideas: Add a fresh mint leaf, a candy pumpkin, or a plastic spider to the top. For a “mud” version, add a thin layer of chocolate sauce between the layers.
One big dessert: Layer everything in a 9 x 13-inch (23 x 33 cm) dish or a clean, new flowerpot for a party centerpiece.
Allergies: This recipe contains dairy, wheat, soy, and gelatin in the gummy worms. Check labels for other allergens.
Storage: Keep covered in the refrigerator for up to 2 days. The cookie crumbs will soften over time. Nutrition (per cup) Calories 535 kcal Carbohydrates 68 g Protein 7 g Fat 27 g Saturated fat 13 g Cholesterol 50 mg Sodium 560 mg Potassium 260 mg Fiber 2 g Sugar 48 g