Love it or hate it, candy corn is the undeniable visual mascot of the autumn season. But even if you are on the fence about traditional candy corn kernels, this rich, velvety Candy Corn Layered White Chocolate Fudge will completely win you over. It captures the iconic yellow, orange, and white tri-color pattern of classic fall candy, but elevates the flavor into a smooth, buttery white chocolate fudge that melts in your mouth.
What makes this recipe an absolute staple for Halloween baking is its foolproof, no-candy-thermometer technique. By combining premium white chocolate chips with sweetened condensed milk and a touch of butter, you get a luxurious, creamy fudge base in minutes. Tinting the base into yellow and orange layers and setting them in a round cake pan allows you to slice the finished slab into sharp, triangular wedges that look just like oversized candy corn pieces.
Whether you are filling Halloween party favor bags, setting up a festive autumn dessert board, or bringing a colorful treat to a school potluck, this no-bake candy corn fudge is guaranteed to be a hit.
Why You’ll Love This Recipe
- No Candy Thermometer Needed: Made using a simple microwave or stovetop method with zero complicated sugar boiling.
- Iconic Autumn Look: Distinct tri-color layers sliced into sharp triangular wedges mimic classic candy corn pieces.
- Velvety Melt-in-Your-Mouth Texture: Sweetened condensed milk and rich white chocolate yield a smooth, creamy bite every time.
- Make-Ahead Friendly: Sets firmly in the refrigerator and keeps wonderfully for weeks, making party prep a breeze.
Ingredient Notes
- White Chocolate Chips or Wafers: Use high-quality white chocolate chips or chopped baking bars containing cocoa butter for the smoothest melt and richest flavor.
- Sweetened Condensed Milk: Binds the white chocolate into a soft, scoopable, and sliceable fudge structure without becoming rock-hard.
- Unsalted Butter: Adds a silky gloss and subtle buttery undertone that balances the sweetness of the white chocolate.
- Yellow & Orange Gel Food Coloring: Concentrated gel dye is crucial. Liquid food coloring adds unwanted moisture that can cause white chocolate to seize.
- Pure Vanilla Extract & Salt: A splash of vanilla and a pinch of fine salt cut through the rich sweetness, balancing the dairy notes.
Step-by-Step Instructions
1. Melt the Creamy Fudge Base
In a heavy-bottomed saucepan over low heat (or in a large microwave-safe bowl in 30-second bursts), combine 3 cups of white chocolate chips, one 14-ounce can of sweetened condensed milk, 2 tablespoons of unsalted butter, and a pinch of salt. Stir continuously until the chocolate is completely melted, smooth, and glossy. Remove from heat and stir in 1 teaspoon of pure vanilla extract.
2. Divide and Color the Layers
Divide the warm fudge base into three separate bowls. Leave one bowl plain white (this will be the top layer/tip). Add yellow gel food coloring to the second bowl and stir until vibrant bright yellow. Add orange gel food coloring to the third bowl and stir until rich pumpkin-orange. Crucial technique: Work efficiently while the fudge base is warm and pliable so it spreads smoothly into the pan.
3. Layer the Colored Fudge Base
Line a 8-inch or 9-inch round cake pan with parchment paper, leaving an overhang on the sides for easy lifting. Pour the yellow fudge into the bottom of the pan and smooth it out into an even layer using an offset spatula. Carefully spread the orange fudge layer directly over the yellow layer. Finally, spread the plain white fudge layer across the top.
4. Chill and Set Firm
Transfer the cake pan to the refrigerator and chill for at least 2 to 3 hours (or overnight) until the white chocolate fudge is completely firm and set through to the center.
5. Slice into Festive Triangle Wedges
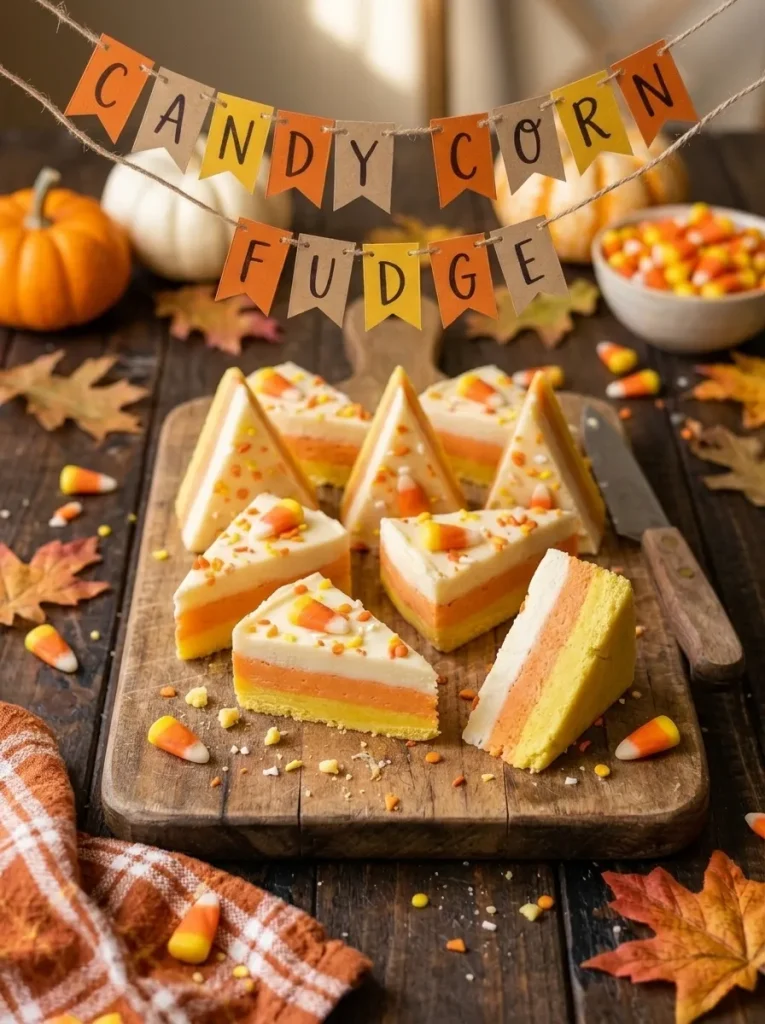
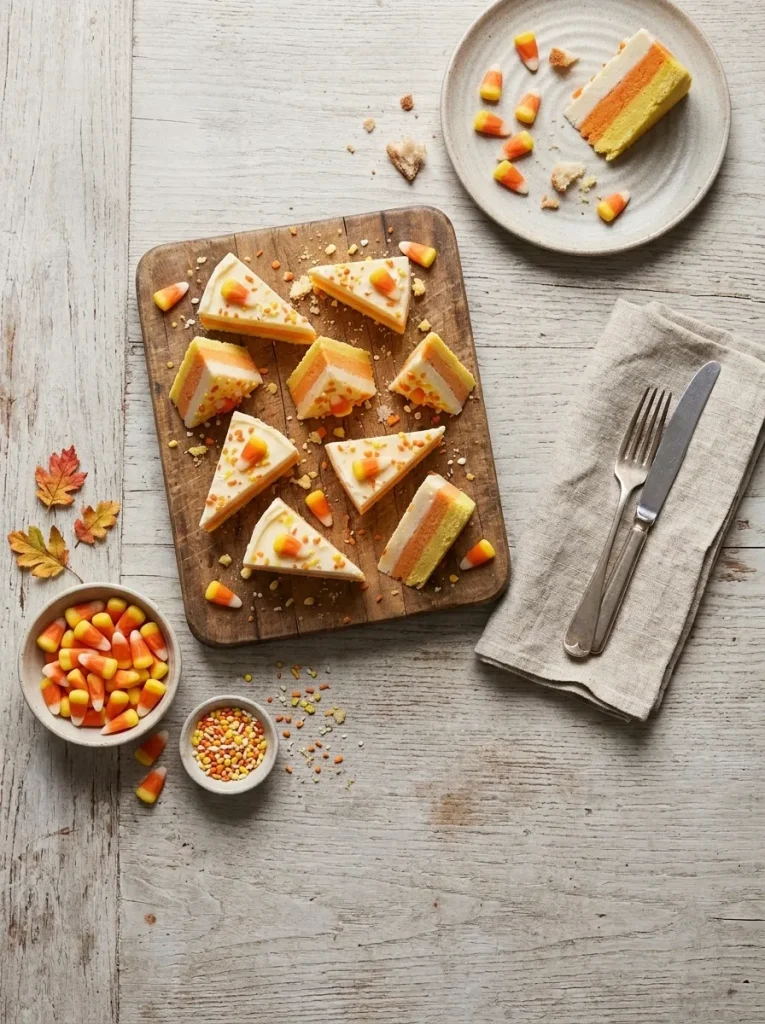
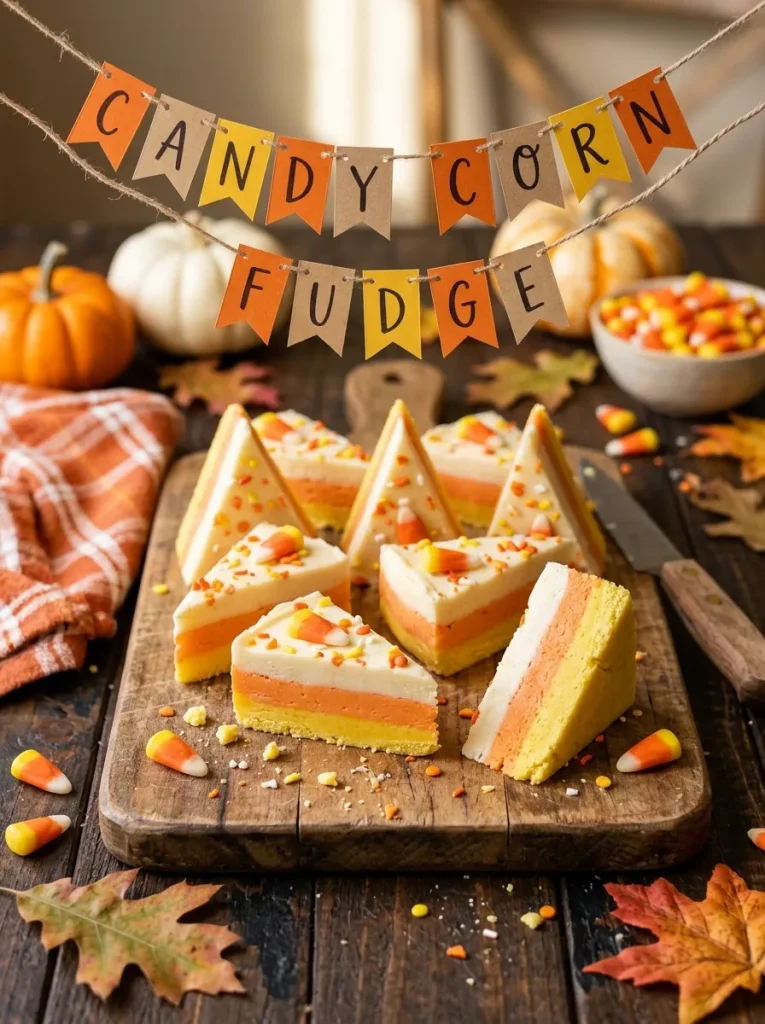
Using the parchment paper overhang, lift the chilled round fudge slab out of the pan and place it on a clean cutting board. Warm a large, sharp chef’s knife under hot running water, wipe it completely dry, and slice the round slab into narrow triangular wedges radiating from the center outward. The resulting wedges will feature a wide yellow outer band, an orange middle band, and a white pointed tip—just like giant candy corn!
Pro Tips for Best Results
Pro Tip: Slice your fudge with a warm, dry knife! Dipping your chef’s knife in hot water and wiping it dry before each slice glides cleanly through the chilled layers, producing crisp, sharp candy corn edges without smearing colors.
- Use Gel Dye Only: Never use water-based liquid food dye with white chocolate. Water causes chocolate to seize into a dry, clumpy mess.
- Use a Round Pan for Triangles: Setting the fudge in a round cake pan makes slicing natural triangular wedges effortless compared to a square baking dish.
- Work Quickly Between Layers: Spread the layers while the fudge is warm so they bond together tightly without separating when sliced.
Storage Instructions
- Refrigerator Storage: Store sliced fudge wedges in an airtight container lined with parchment paper in the fridge for up to 3 weeks.
- Room Temperature Serving: For the best velvety texture, let the fudge wedges sit at room temperature for 10 minutes before eating.
Variations & Substitutions
- Candy Corn Topped Fudge: Press actual mini candy corn kernels and festive sprinkles into the top white layer before chilling.
- Peppermint Autumn Fudge: Add 1/4 teaspoon of pure peppermint extract to the white chocolate base for a cool minty fall treat.
- Cookies & Cream Candy Corn Fudge: Fold crushed Golden Oreos into the plain white layer for extra crunchy texture.
Frequently Asked Questions
Why did my white chocolate seize and become clumpy?
White chocolate seizes if it gets too hot or if even a tiny drop of water enters the bowl. Heat gently over low temperature and always use oil-based or gel food coloring.
Can I use an 8×8 square pan instead of a round pan?
Yes! If using a square pan, layer yellow, orange, and white, then cut the slab into squares and slice each square diagonally to form triangles.
How do I keep the layers from bleeding into each other?
If your fudge is warm, gently spoon the next layer over top and smooth lightly with an offset spatula without pressing down forcefully.
Can I freeze white chocolate fudge?
Yes! Wrap the fudge slab tightly in plastic wrap and foil, then freeze for up to 2 months. Thaw in the refrigerator overnight before slicing.
Serving Suggestions
Display this colorful Candy Corn Layered White Chocolate Fudge with your favorite fall treats:
- Halloween Dessert Boards: Display alongside Witches Cauldron Cupcakes, Vampire Denture Cookies, and Monster Eye Oreo Truffles.
- Autumn Party Favors: Package 2 or 3 triangle wedges in clear cellophane bags tied with orange and purple ribbon for party treats.
- Warm Beverages: Pair with hot spiced apple cider, dark roast espresso, or pumpkin spice lattes.
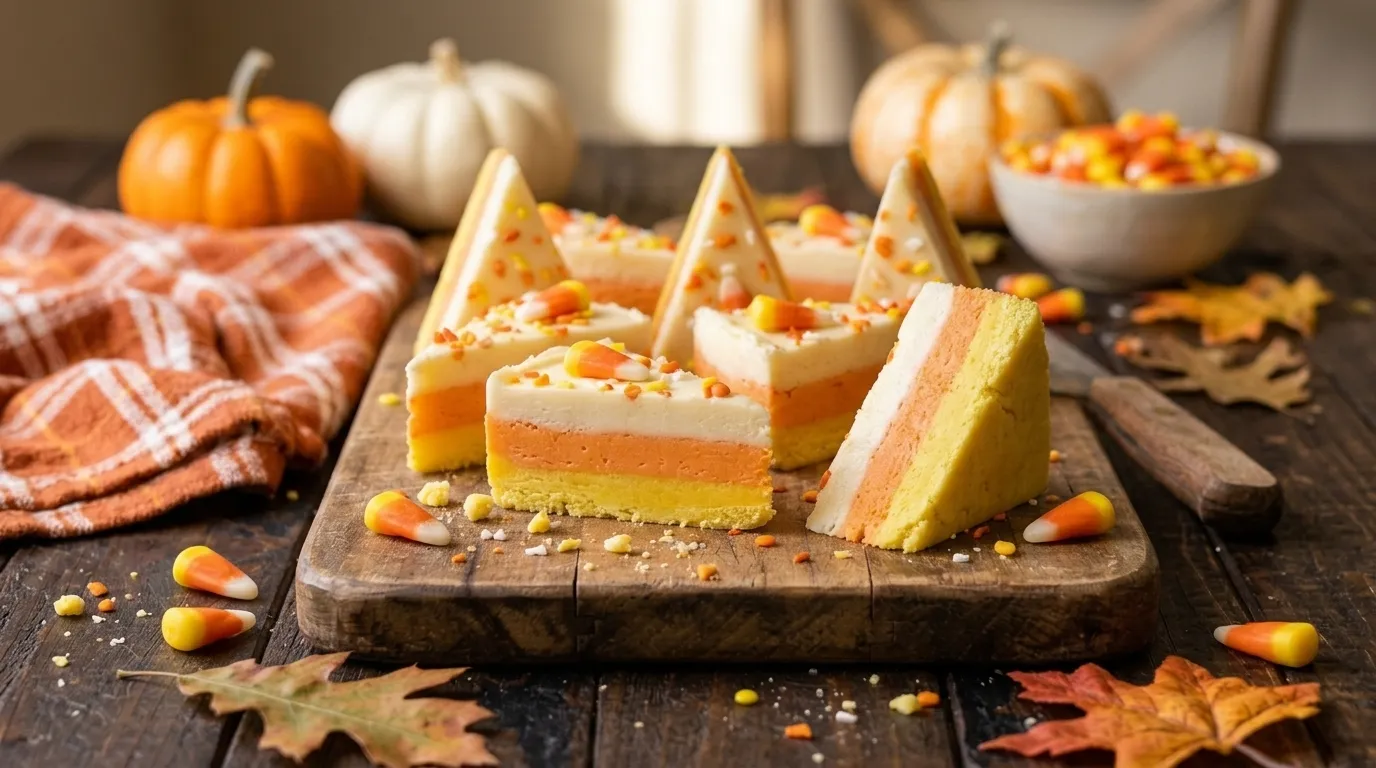
Candy Corn Layered White Chocolate Fudge Cut Into Festive Triangle Wedges
Ingredients
Equipment
Method
- Prepare the Pan

- Line an 8-inch (20 cm) square pan with parchment paper, leaving an overhang on two sides to lift the fudge out later.
- Make the Fudge
- In a medium saucepan over low heat, combine the white chocolate chips, sweetened condensed milk, butter, and salt. Stir constantly with a spatula until completely melted and smooth, about 5 to 7 minutes. Remove from the heat and stir in the vanilla.
- Divide the fudge evenly among three small bowls, about 1 cup (240 ml) each. Stir the yellow food coloring into one bowl, the orange into a second, and leave the third white. Keep the bowls warm so that the fudge stays spreadable.
- Layer the Candy Corn
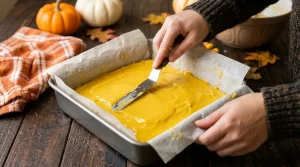
- Spread the yellow fudge into the pan in an even layer. Refrigerate for 15 minutes, until just set but still slightly tacky.
- Spread the orange fudge over the yellow layer, smoothing it gently. Refrigerate for another 15 minutes. If the remaining fudge has thickened, warm it for 10 seconds in the microwave.
- Spread the white fudge over the orange layer and smooth the top. Refrigerate for at least 2 hours, until completely firm.
- Cut the Wedges
- Lift the fudge from the pan using the parchment. Trim the edges for clean sides, then cut into 12 rectangles, 3 across and 4 down. Cut each rectangle diagonally from corner to corner to make 24 triangles. Wipe the knife between cuts. Stand each wedge on its side so that the yellow, orange, and white layers show, and top with candy corn if desired.





Notes
Chocolate chips: Use real white chocolate chips or chopped white chocolate that lists cocoa butter. White baking melts and candy coating may not set as smoothly.
Gel coloring: Gel food coloring gives vivid colors without thinning the fudge. Add a drop at a time.
Layers: Chill each layer just until it holds a fingerprint but is still tacky. If it is too cold, the layers will not stick, and if it is too soft, the colors will blend.
Clean cuts: Use a long, sharp knife dipped in hot water and wiped dry. Let the fudge sit at room temperature for 10 minutes before cutting if it feels too hard.
Serving: Serve the wedges lying on their sides to show the stripes, like candy corn.
Allergies: This recipe contains dairy and soy. Check labels for nuts and other allergens.
Storage: Store in an airtight container in the refrigerator for up to 2 weeks, with parchment between layers. Freeze for up to 3 months, and thaw in the refrigerator. Nutrition (per wedge) Calories 165 kcal Carbohydrates 22 g Protein 2 g Fat 8 g Saturated fat 5 g Cholesterol 12 mg Sodium 45 mg Potassium 95 mg Fiber 0 g Sugar 21 g