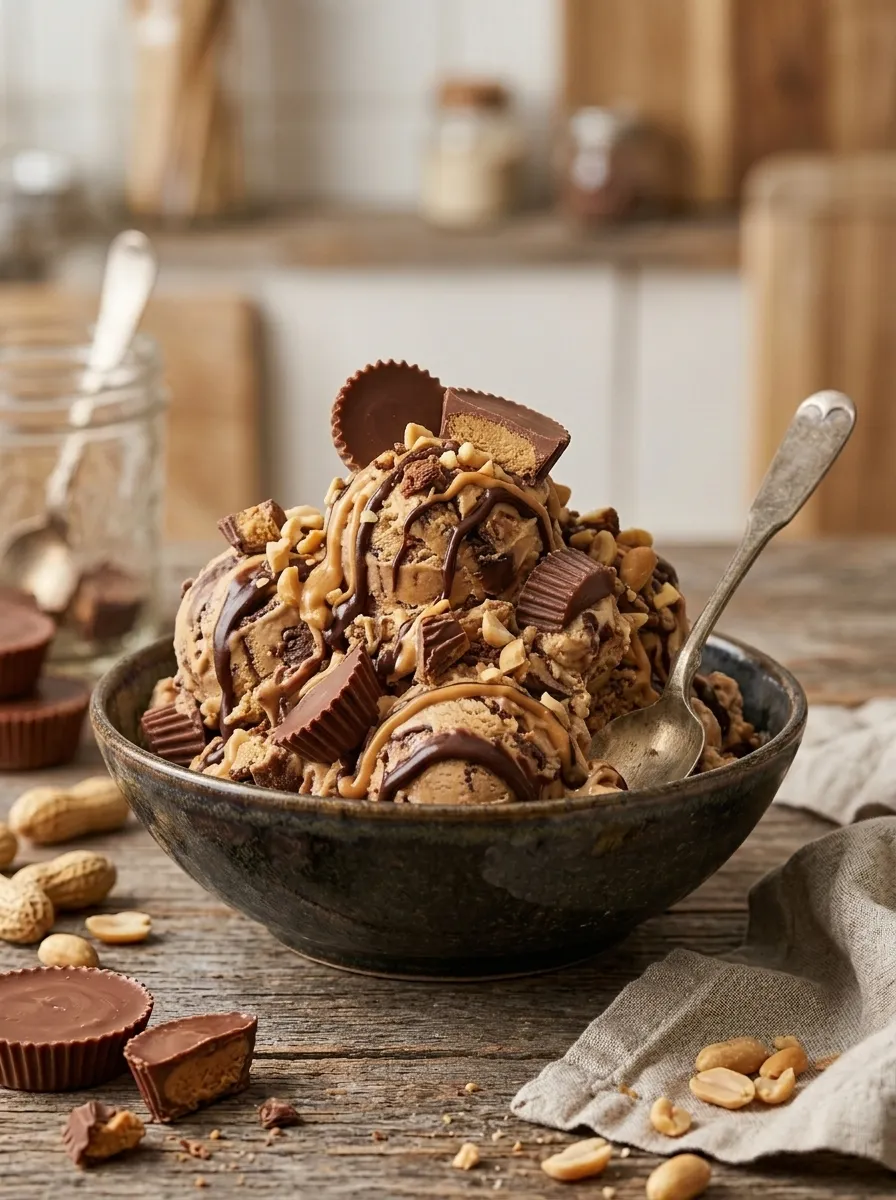
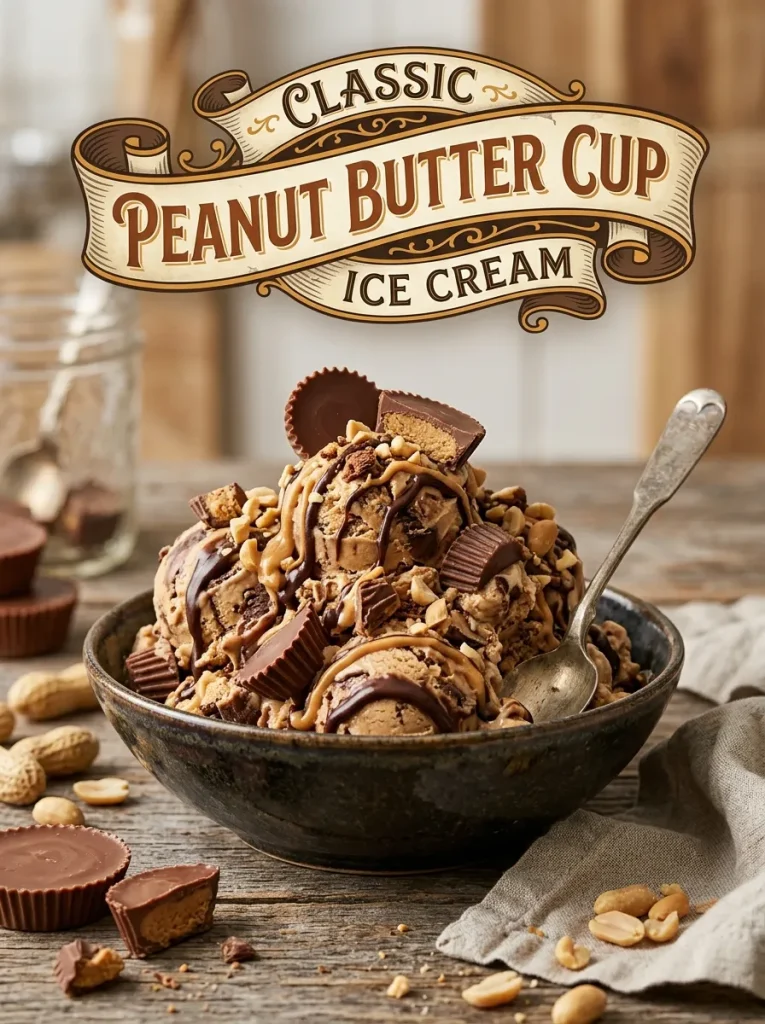
Few flavor combinations satisfy the soul quite like rich peanut butter and dark chocolate. While store-bought peanut butter cup ice creams often feature sparse chocolate flecks or an artificial peanut flavor, making this classic creamery favorite at home gives you complete control over the decadence. This recipe delivers a velvety, sweet peanut butter cream base packed with chopped Reese’s peanut butter cups and laced with a thick, fudge-like peanut butter swirl in every single scoop.
The secret to achieving an irresistible peanut butter ice cream that stays creamy rather than heavy or greasy comes down to how you incorporate the nut butter. By whisking natural creamy peanut butter directly into a warm milk and sugar base, you dissolve the dense peanut oils into the dairy before churning. This creates an ultra-smooth, golden custard-like foundation that freezes with zero ice crystals.
Whether you’re churning a batch for a summer backyard barbecue, treating the kids after school, or satisfying a late-night chocolate craving, this indulgent recipe will quickly become the most requested flavor in your freezer.
Why You’ll Love This Recipe
- Double Peanut Butter Power: Combines a smooth peanut butter cream base with an extra gooey peanut butter fudge ribbon throughout.
- Loaded with Real Peanut Butter Cups: Generously packed with chopped full-sized or mini Reese’s cups so every bite has a chocolate crunch.
- Ultra-Velvety Texture: High-fat heavy cream combined with dissolved peanut butter oils creates a luxurious, scoopable texture.
- Easy Egg-Free Churn: Simple Philadelphia-style base requires no egg yolk tempering—just whisk, chill, churn, and freeze!
Ingredient Notes
- Creamy Peanut Butter: Standard commercial creamy peanut butter (like Jif or Skippy) works best for ice cream. Natural oil-separating peanut butters can freeze chalky or gritty due to unemulsified oils.
- Chopped Peanut Butter Cups: Use a mix of mini and full-sized Reese’s peanut butter cups, chopped into bite-sized quarters.
- Heavy Whipping Cream & Whole Milk: A balanced 2:1 ratio of heavy cream (36% fat) to whole milk provides a rich mouthfeel without coating your palate in heavy fat.
- Granulated Sugar & Brown Sugar: Combining white sugar with a touch of light brown sugar adds subtle caramel undertones that complement the salty-sweet peanuts.
- Pure Vanilla Extract: A teaspoon of pure vanilla extract rounds out the cocoa and peanut notes, tying all the flavors together.
Step-by-Step Instructions
1. Dissolve the Peanut Butter Cream Base
In a medium saucepan over medium-low heat, whisk together 1 cup of whole milk, 1/2 cup of granulated sugar, 1/4 cup of packed light brown sugar, and a pinch of fine sea salt. Heat until the sugars dissolve and the milk is steaming. Whisk in 1/2 cup of creamy peanut butter until completely melted, smooth, and pale golden-brown. Remove from heat and stir in 2 cups of cold heavy whipping cream and 1 teaspoon of pure vanilla extract.
2. Chill the Base Thoroughly
Transfer the peanut butter cream base into a glass bowl, cover tightly with plastic wrap, and place it in the refrigerator for at least 4 hours (or ideally overnight). Chilling the base to 40°F (4°C) or colder is essential for allowing the fat molecules to solidify so the ice cream churns up airy and smooth.
3. Prep and Freeze the Mix-Ins
Chop 1.5 cups of peanut butter cups into quarters. Place the chopped cups and 1/3 cup of creamy peanut butter (for the swirl) on a parchment-lined plate and freeze them for at least 30 minutes while the ice cream base finishes chilling. Freezing the mix-ins prevents the chocolate from smudging or melting into the ice cream during churning.
4. Churn to Soft-Serve Consistency
Pour the ice-cold peanut butter base into your ice cream maker and churn according to the manufacturer’s directions (usually 20 to 25 minutes) until it expands and reaches a thick soft-serve texture. During the last 2 minutes of churning, toss in the frozen chopped peanut butter cups, allowing the paddle to distribute them evenly.
5. Layer, Swirl, and Freeze
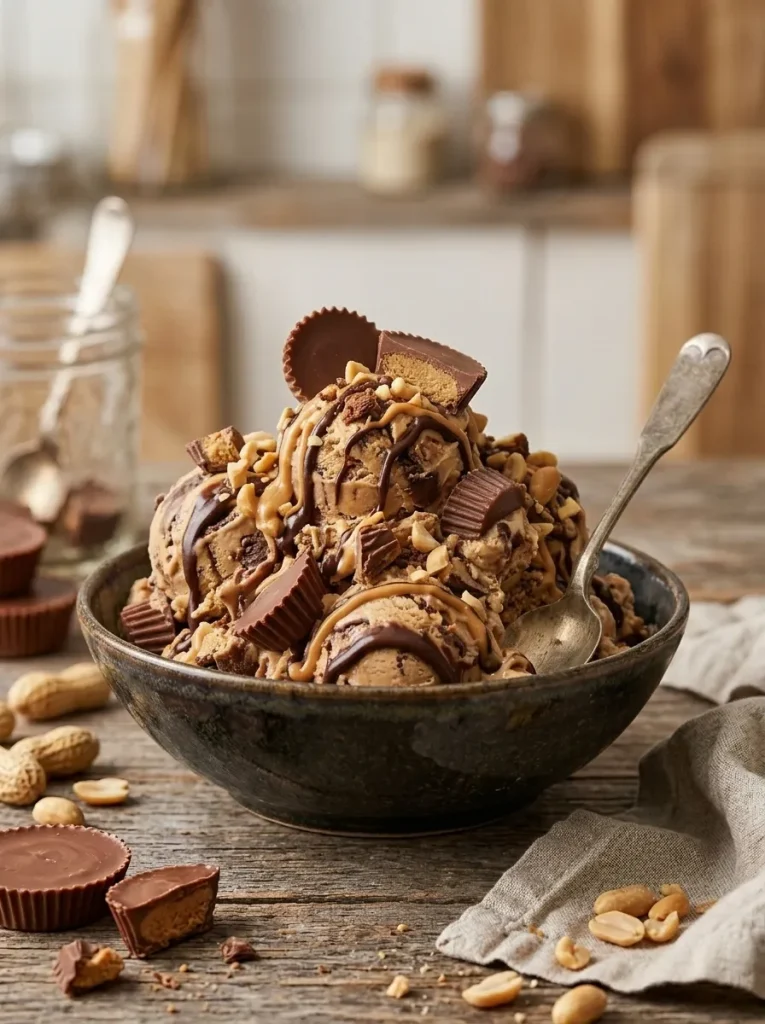
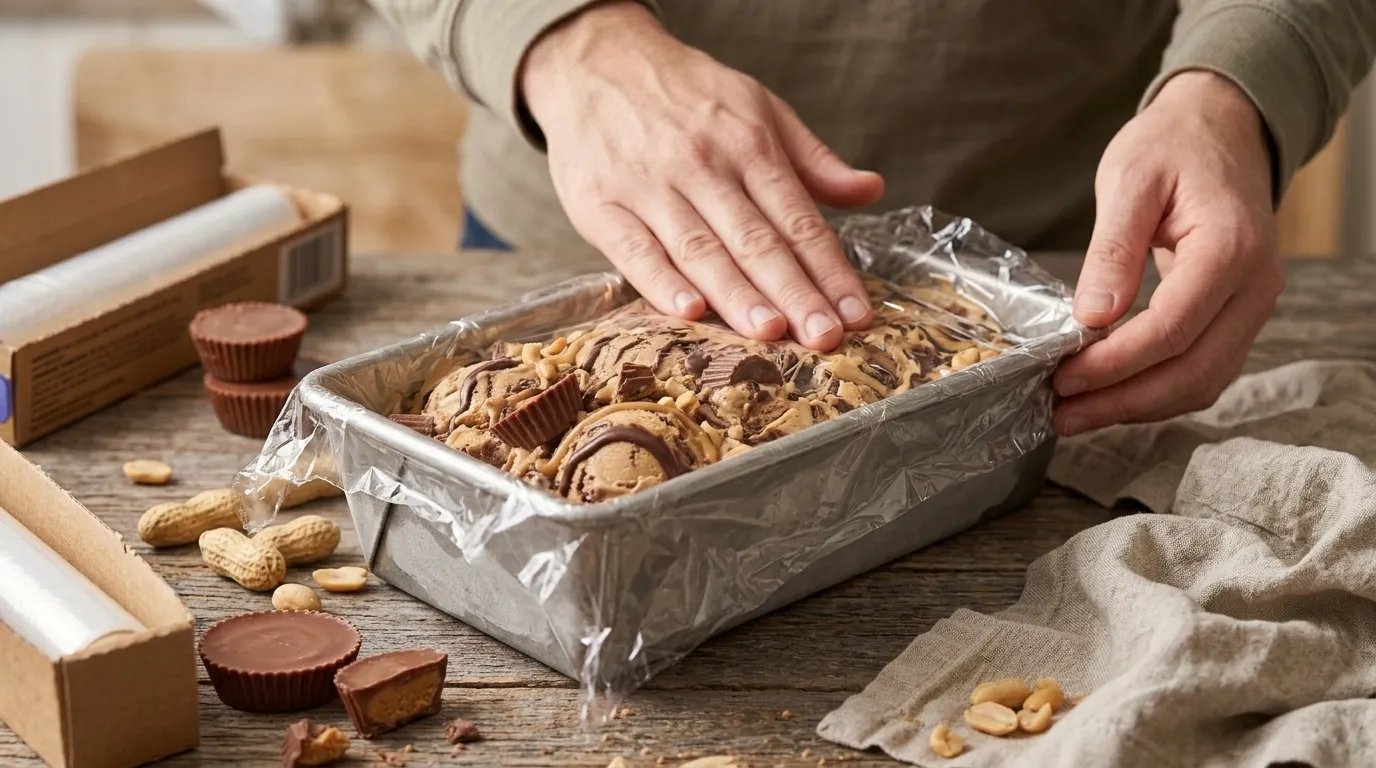
Spoon one-third of the churned ice cream into a freezer-safe container. Drizzle dollops of the slightly warmed peanut butter and hot fudge sauce over top, then swirl gently with a butter knife. Repeat layering two more times. Cover tightly with plastic wrap pressed directly against the surface and freeze for at least 4 hours until solid and scoopable.
Pro Tips for Best Results
Pro Tip: Freeze your chopped peanut butter cups before adding them to the churner! Warm or room-temperature chocolate cups will crumble and melt into the moving paddle, turning your ice cream muddy instead of leaving clean, distinct chunks.
- Use Standard Commercial Peanut Butter: Avoid natural “stir-it-yourself” peanut butter for the base, as the separated oils can cause a grainy or icy texture once frozen.
- Warm the Swirl Slightly: Warm your swirl peanut butter in the microwave for 10 seconds so it flows easily when drizzled, but make sure it isn’t hot enough to melt the churned cream.
- Chill Your Container: Keep your storage container in the freezer while the machine churns so the fresh ice cream doesn’t melt on contact when transferred.
Storage Instructions
- Freezer Storage: Keep the ice cream stored in an airtight freezer-safe container or metal loaf pan pressed with wax paper directly onto the surface, then wrapped tightly in foil. Keeps fresh for up to 3 weeks.
- Serving Prep: Let the ice cream sit on the kitchen counter for 5 minutes before scooping to allow the peanut butter ribbons to soften slightly for smooth, rounded scoops.
Variations & Substitutions
- Chocolate Peanut Butter Cup: Swap the vanilla-peanut base for a rich Dutch cocoa base and fold in peanut butter cups for a double-chocolate twist.
- Crispy Peanut Butter Crunch: Fold in 1/2 cup of crushed butterfinger bars or pretzel bits alongside the peanut butter cups for an extra crispy crunch.
- Dairy-Free Peanut Butter Cup: Use full-fat canned coconut cream and creamy cashew milk in place of heavy cream and whole milk, paired with dairy-free peanut butter cups.
Frequently Asked Questions
Why is my peanut butter swirl hard and brittle?
If plain peanut butter freezes too cold, it can become hard. Mixing 1 tablespoon of coconut oil or maple syrup into your swirl peanut butter keeps it gooey and soft even in sub-zero freezer temperatures.
Can I use mini Reese’s pieces instead of peanut butter cups?
Yes! Reese’s pieces add a fantastic candy-shell crunch to the ice cream. You can use them on their own or combine them with chopped peanut butter cups.
Do I need an ice cream maker for this recipe?
While churning produces the airiest texture, you can whip 2 cups of heavy cream to stiff peaks, fold into 1 can of sweetened condensed milk mixed with 1/2 cup peanut butter, layer with chopped cups, and freeze for 6 hours.
Why did my peanut butter base separate in the saucepan?
This happens if the milk gets too hot or boils. Keep the heat on medium-low and whisk continuously just until the peanut butter melts into the warm milk.
Serving Suggestions
Pair this ultimate peanut butter cup ice cream with your favorite treats:
- Warm Desserts: Serve a generous scoop over warm fudgy chocolate brownies, chocolate lava cakes, or warm skillet cookies.
- Sundae Toppings: Top with fresh whipped cream, warm hot fudge sauce, extra chopped peanut butter cups, and a cherry.
- Waffle Cones: Scoop into crisp chocolate-dipped waffle cones for a true creamery experience.
Classic Peanut Butter Cup Ice Cream
Ingredients
Equipment
Method
- Make the Base
- Place a large mixing bowl and the beaters (or whisk attachment) in the freezer for 15 minutes. Put a 9 x 5-inch (23 x 13 cm) loaf pan or freezer-safe container in the freezer as well.

- In a medium bowl, whisk together the peanut butter, sweetened condensed milk, vanilla extract, and salt until completely smooth. If the peanut butter is stiff, microwave it for 15 seconds first.
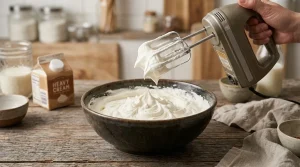
- Pour the cold heavy cream into the chilled mixing bowl. Beat on medium-high speed for 3 to 4 minutes, until stiff peaks form. The cream should hold its shape when you lift the beaters. Stop before it looks grainy.
- Add about one-quarter of the whipped cream to the peanut butter mixture and stir gently to lighten it. Add the remaining whipped cream and fold with a rubber spatula until no streaks remain. Do not overmix, or the ice cream will be dense.
- Make the Chocolate Ripple
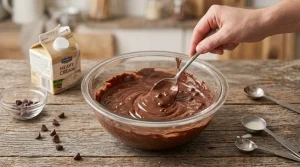
- In a microwave-safe bowl, combine the chocolate chips and 2 tablespoons (30 ml) heavy cream. Microwave in 20-second intervals, stirring between each, until melted and smooth. Let cool for 5 minutes, until thick but still pourable.
- Layer and Freeze
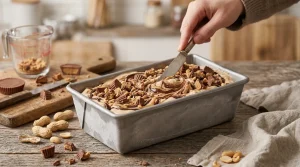
- Fold 1 cup (135 g) of the chopped peanut butter cups into the base. Pour half of the mixture into the chilled loaf pan, drizzle with half of the chocolate ripple, then repeat with the remaining ice cream and chocolate. Swirl gently with a butter knife. Sprinkle with the remaining 1/2 cup (65 g) peanut butter cups and press them in lightly.
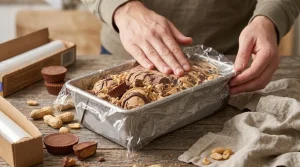
- Press a piece of plastic wrap or parchment paper directly onto the surface, then cover the pan tightly. Freeze for at least 6 hours, or overnight, until firm and scoopable. Let the ice cream sit at room temperature for 5 to 10 minutes before scooping so it softens slightly.
Notes
Stiff peaks: Under-whipped cream gives a soft, icy ice cream, while over-whipped cream turns grainy. Stop as soon as the peaks stand straight up.
Peanut butter cups: Chill the candy in the freezer for 10 minutes before chopping to get cleaner pieces. Chop into pieces about 1/2 inch (1.25 cm), which are easy to scoop.
Chocolate ripple: Let the chocolate cool before drizzling, or it will melt into the ice cream instead of forming ribbons.
Extra peanut flavor: Top each scoop with chopped roasted peanuts and a drizzle of warm peanut butter.
Allergies: This recipe contains peanuts, dairy, and milk chocolate. Check labels for other allergens.
Scooping: No-churn ice cream freezes quite firm. Let it soften for 5 to 10 minutes and dip your scoop in warm water for neat scoops.
Storage: Store in an airtight container with plastic wrap pressed on the surface for up to 2 weeks. The texture is best in the first week. Nutrition (per serving) Calories 520 kcal Carbohydrates 40 g Protein 10 g Fat 37 g Saturated fat 19 g Cholesterol 80 mg Sodium 190 mg Potassium 300 mg Fiber 2 g Sugar 34 g